We recently made a simple solitaire pendant in our workshop and set a white sapphire in it. White sapphire is a nice choice for someone on a limited budget.
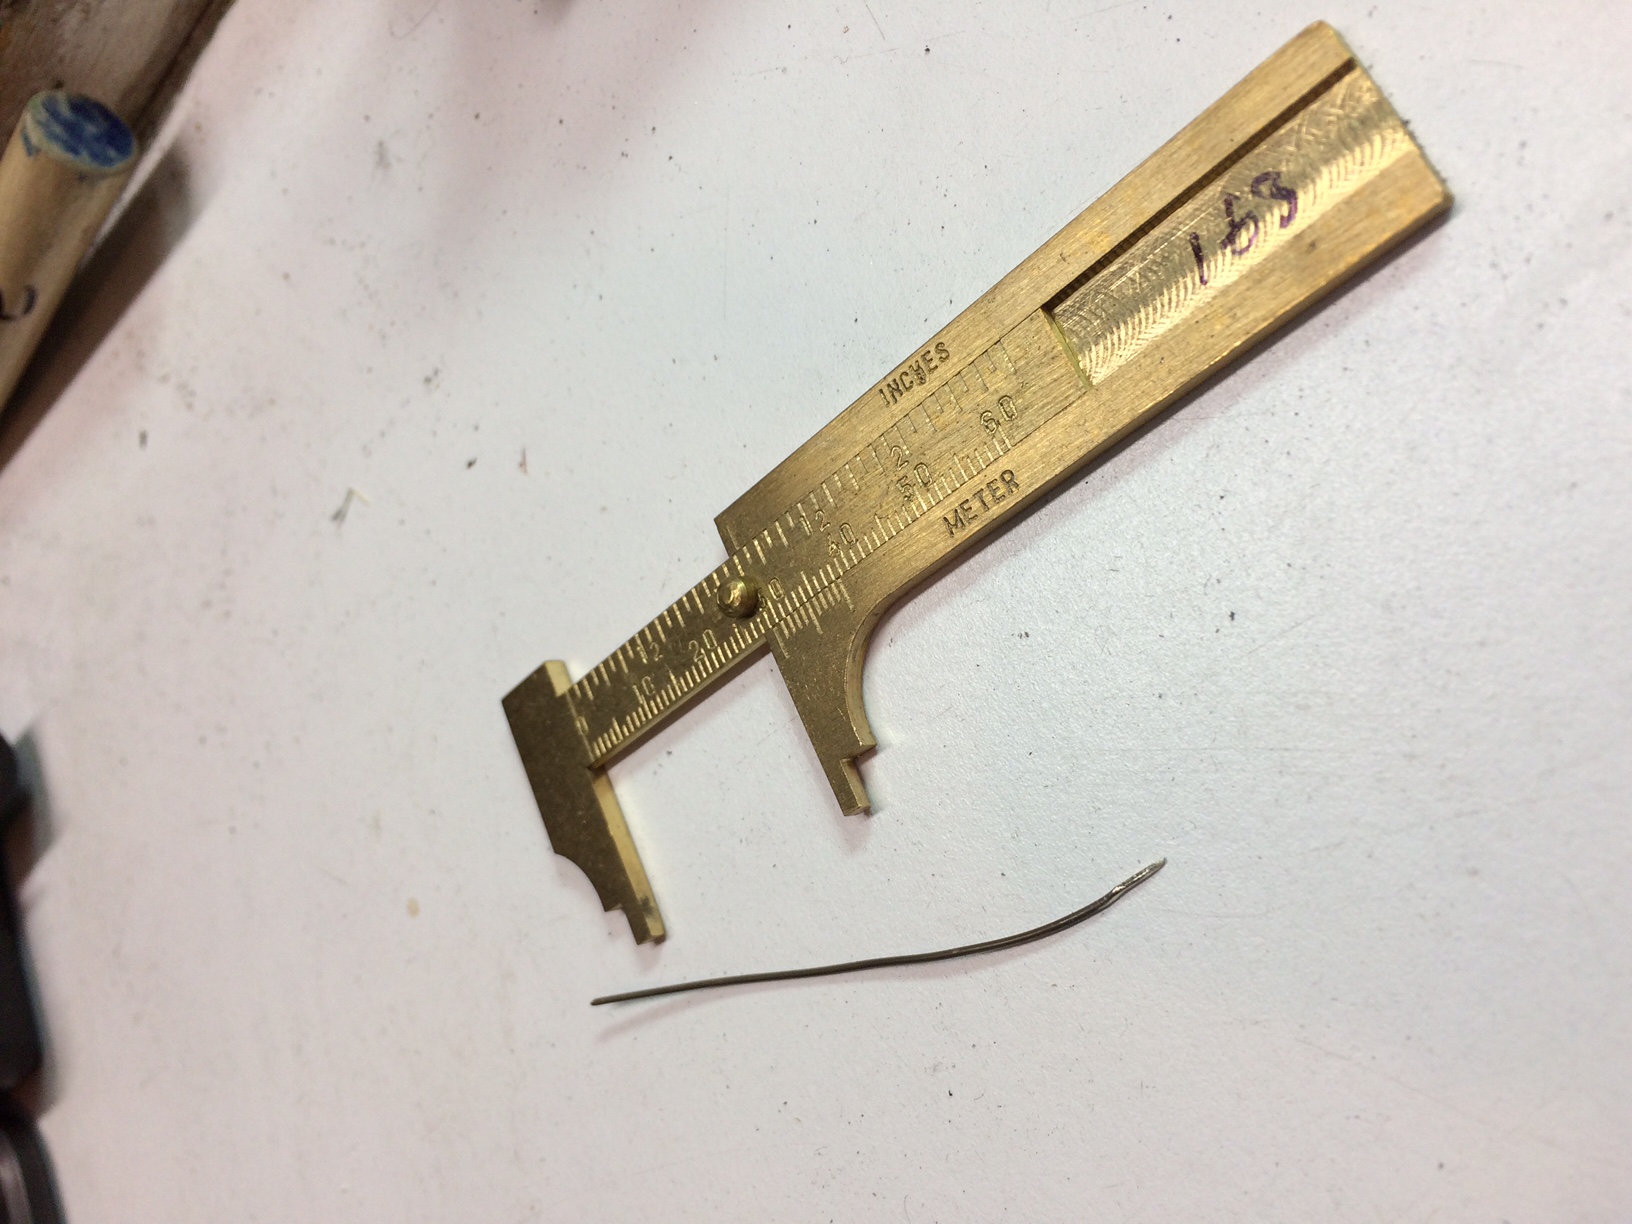
First, we begin with a piece of white gold wire.
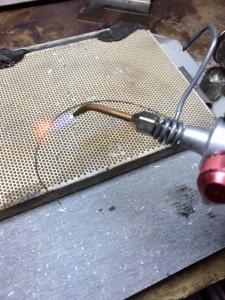
We heat it to make it malleable so that we can shape it into what we want.
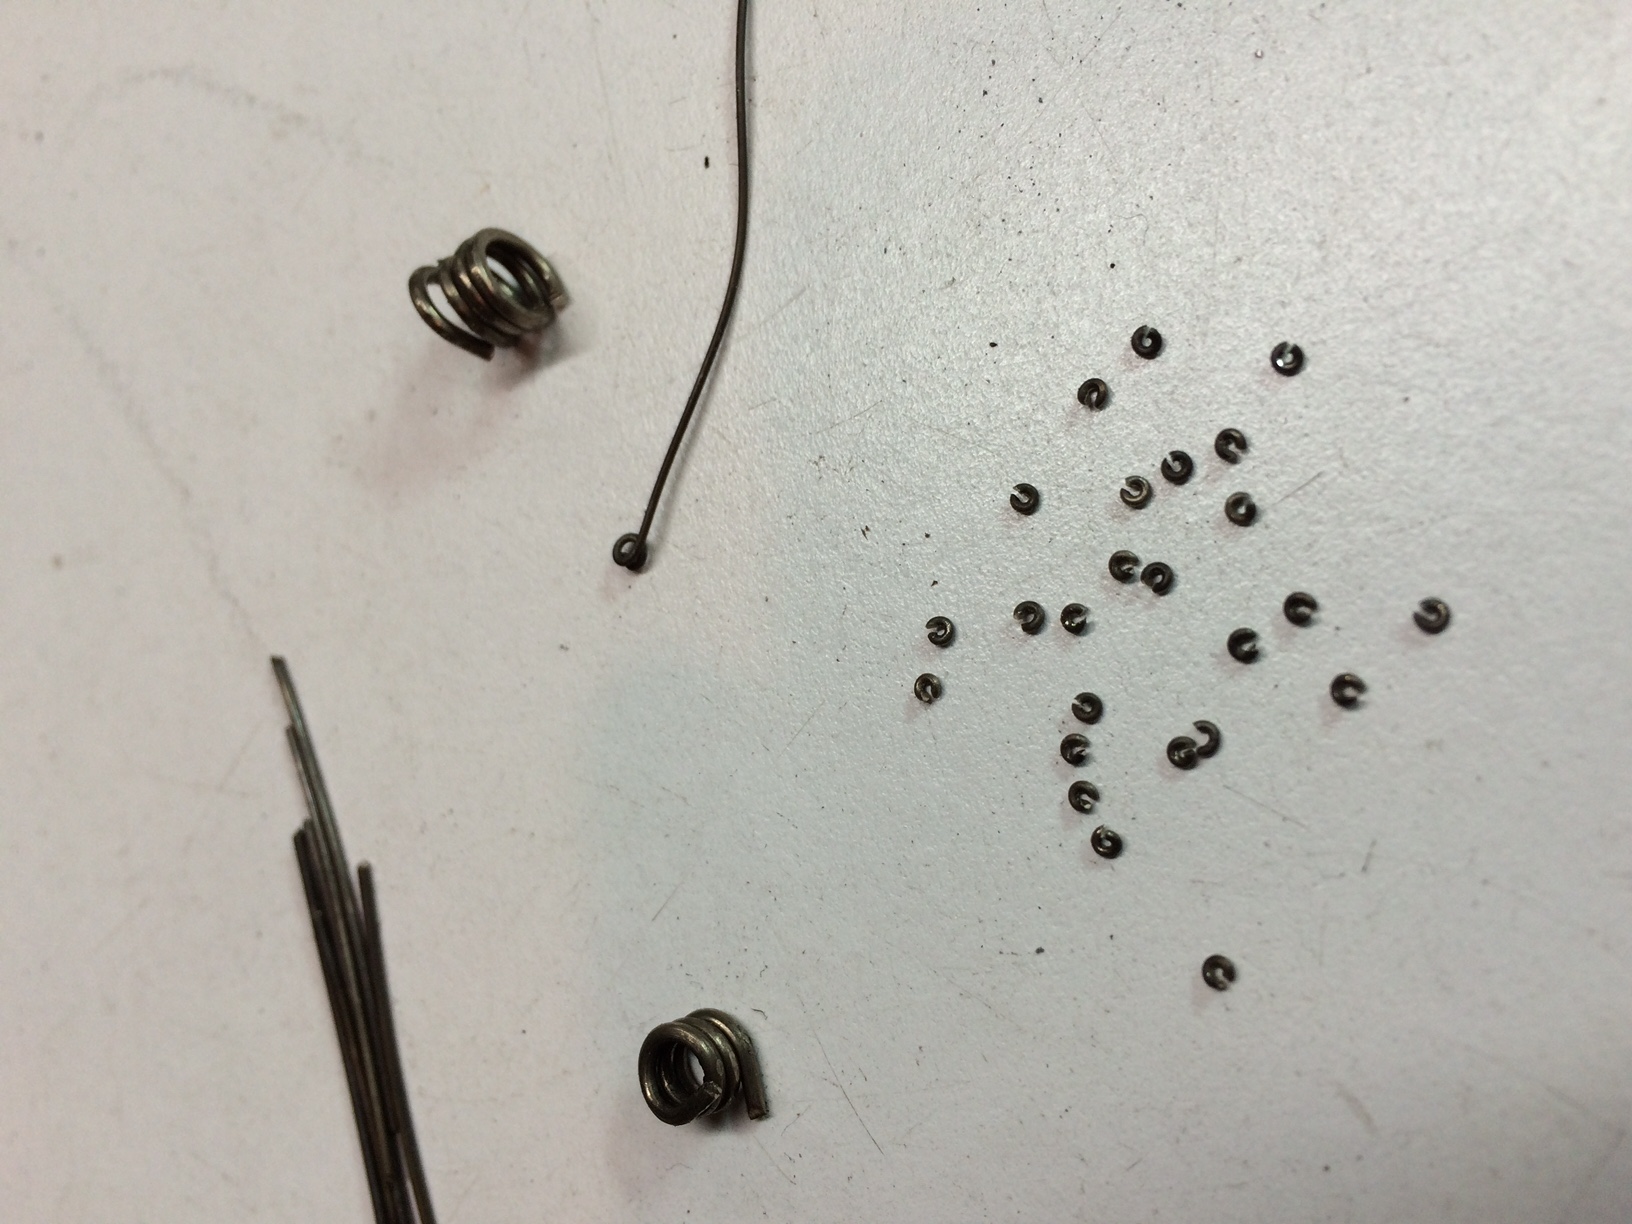
The wire is coiled to make the base of the pendant, as well as the jump rings that will be used to attach it to the chain.
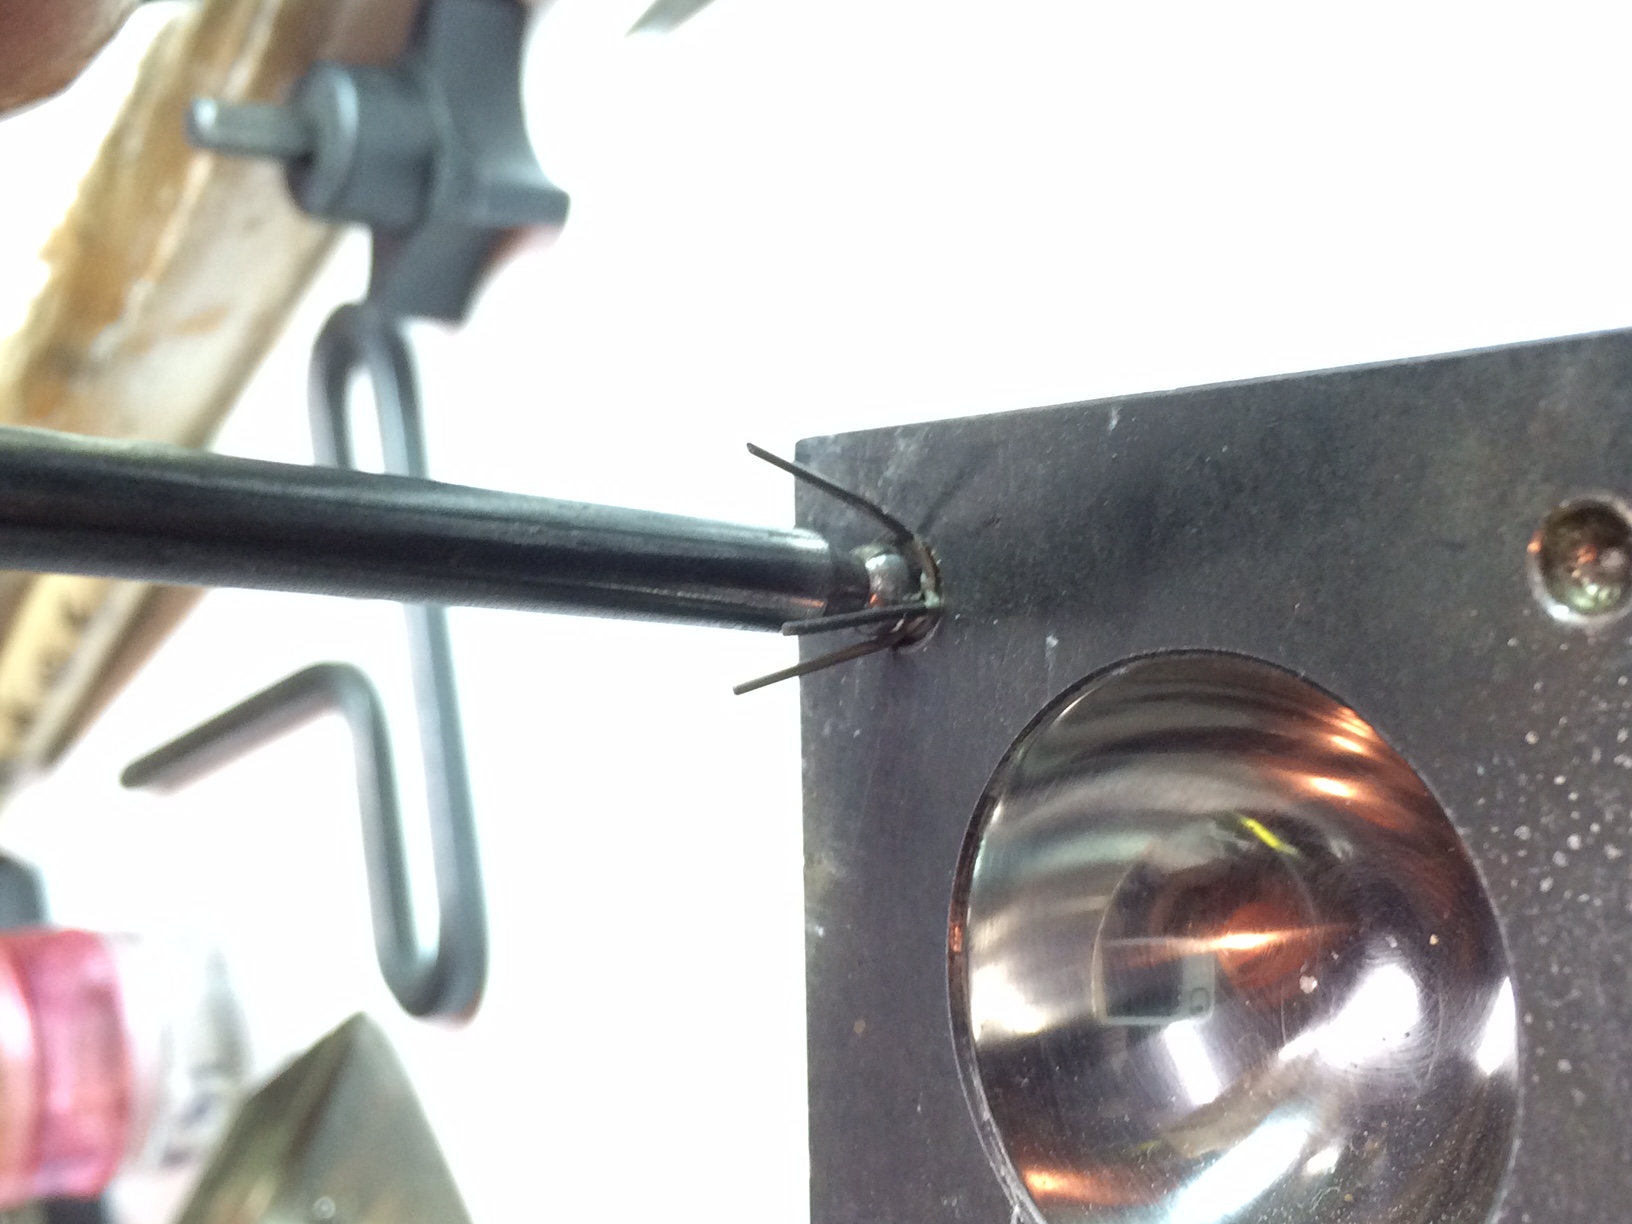
Some pieces of wire are joined with the base ring in order to form the basket of the pendant where the sapphire will be set.
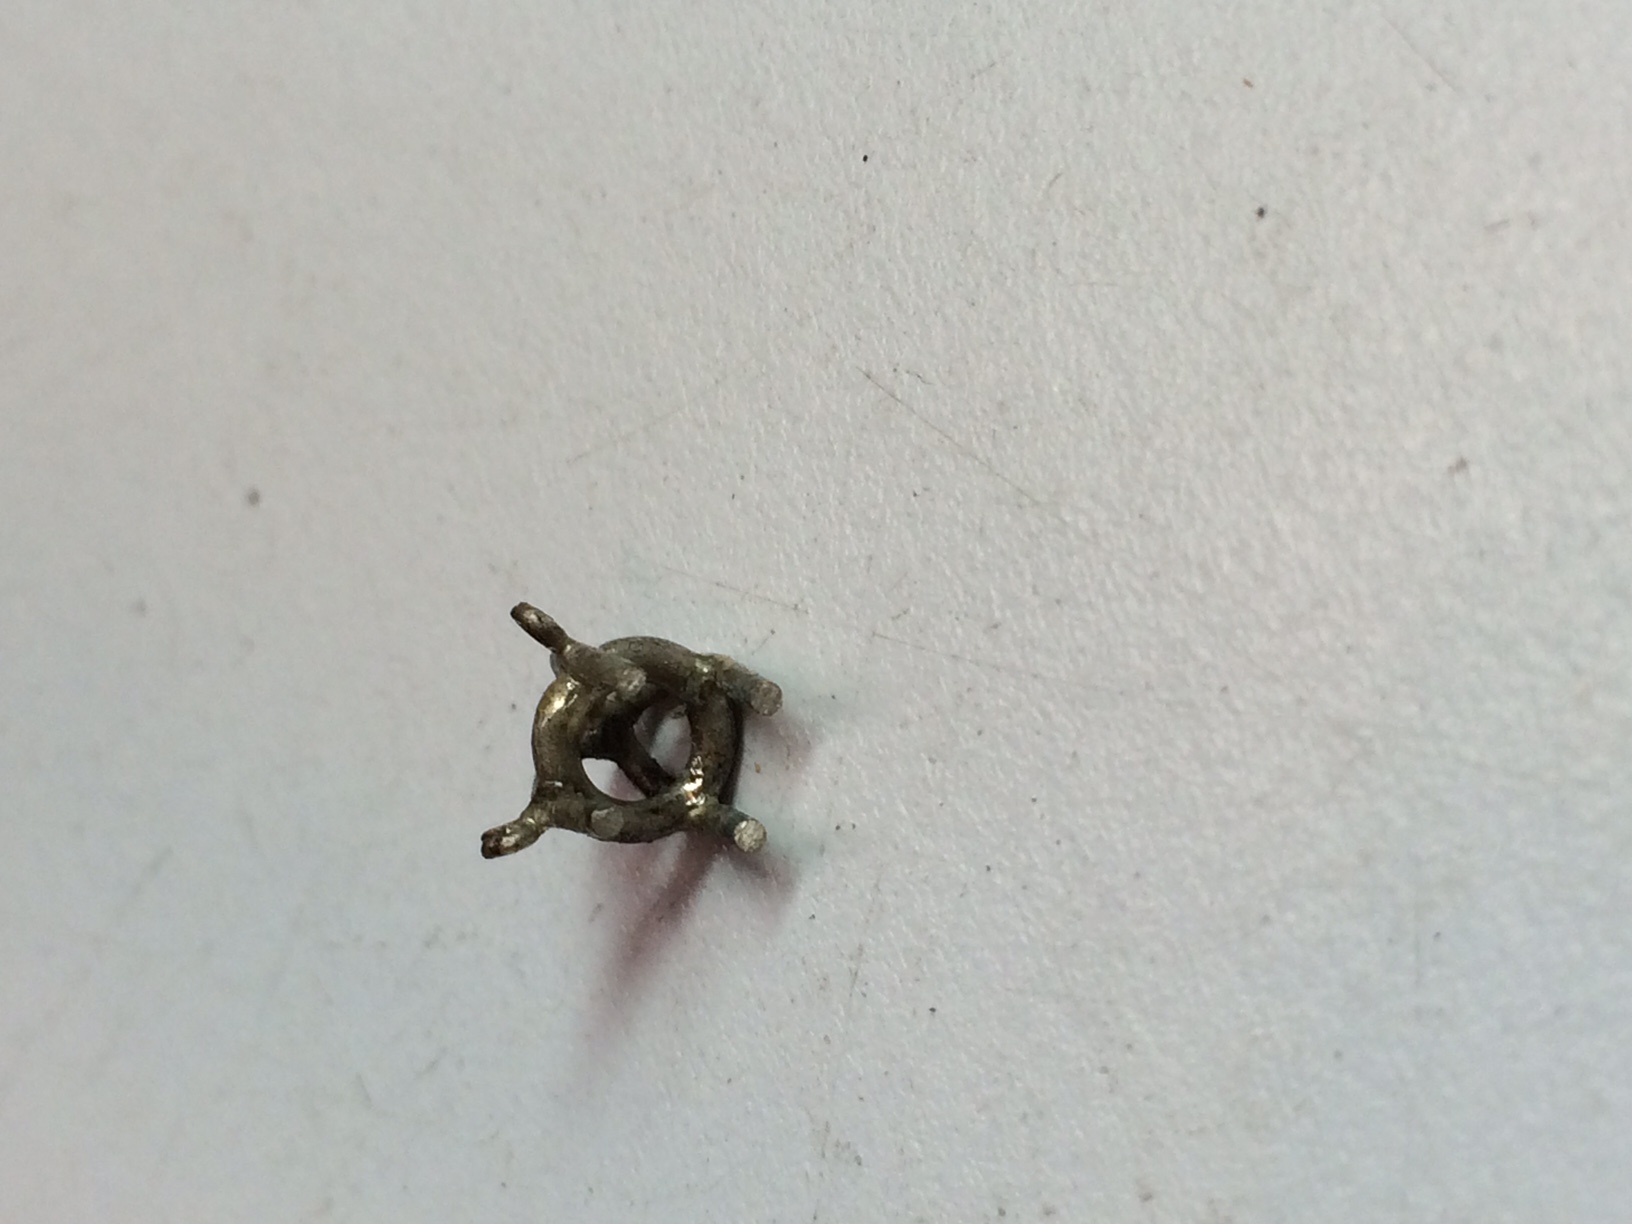
Here is the basket: in rough form.

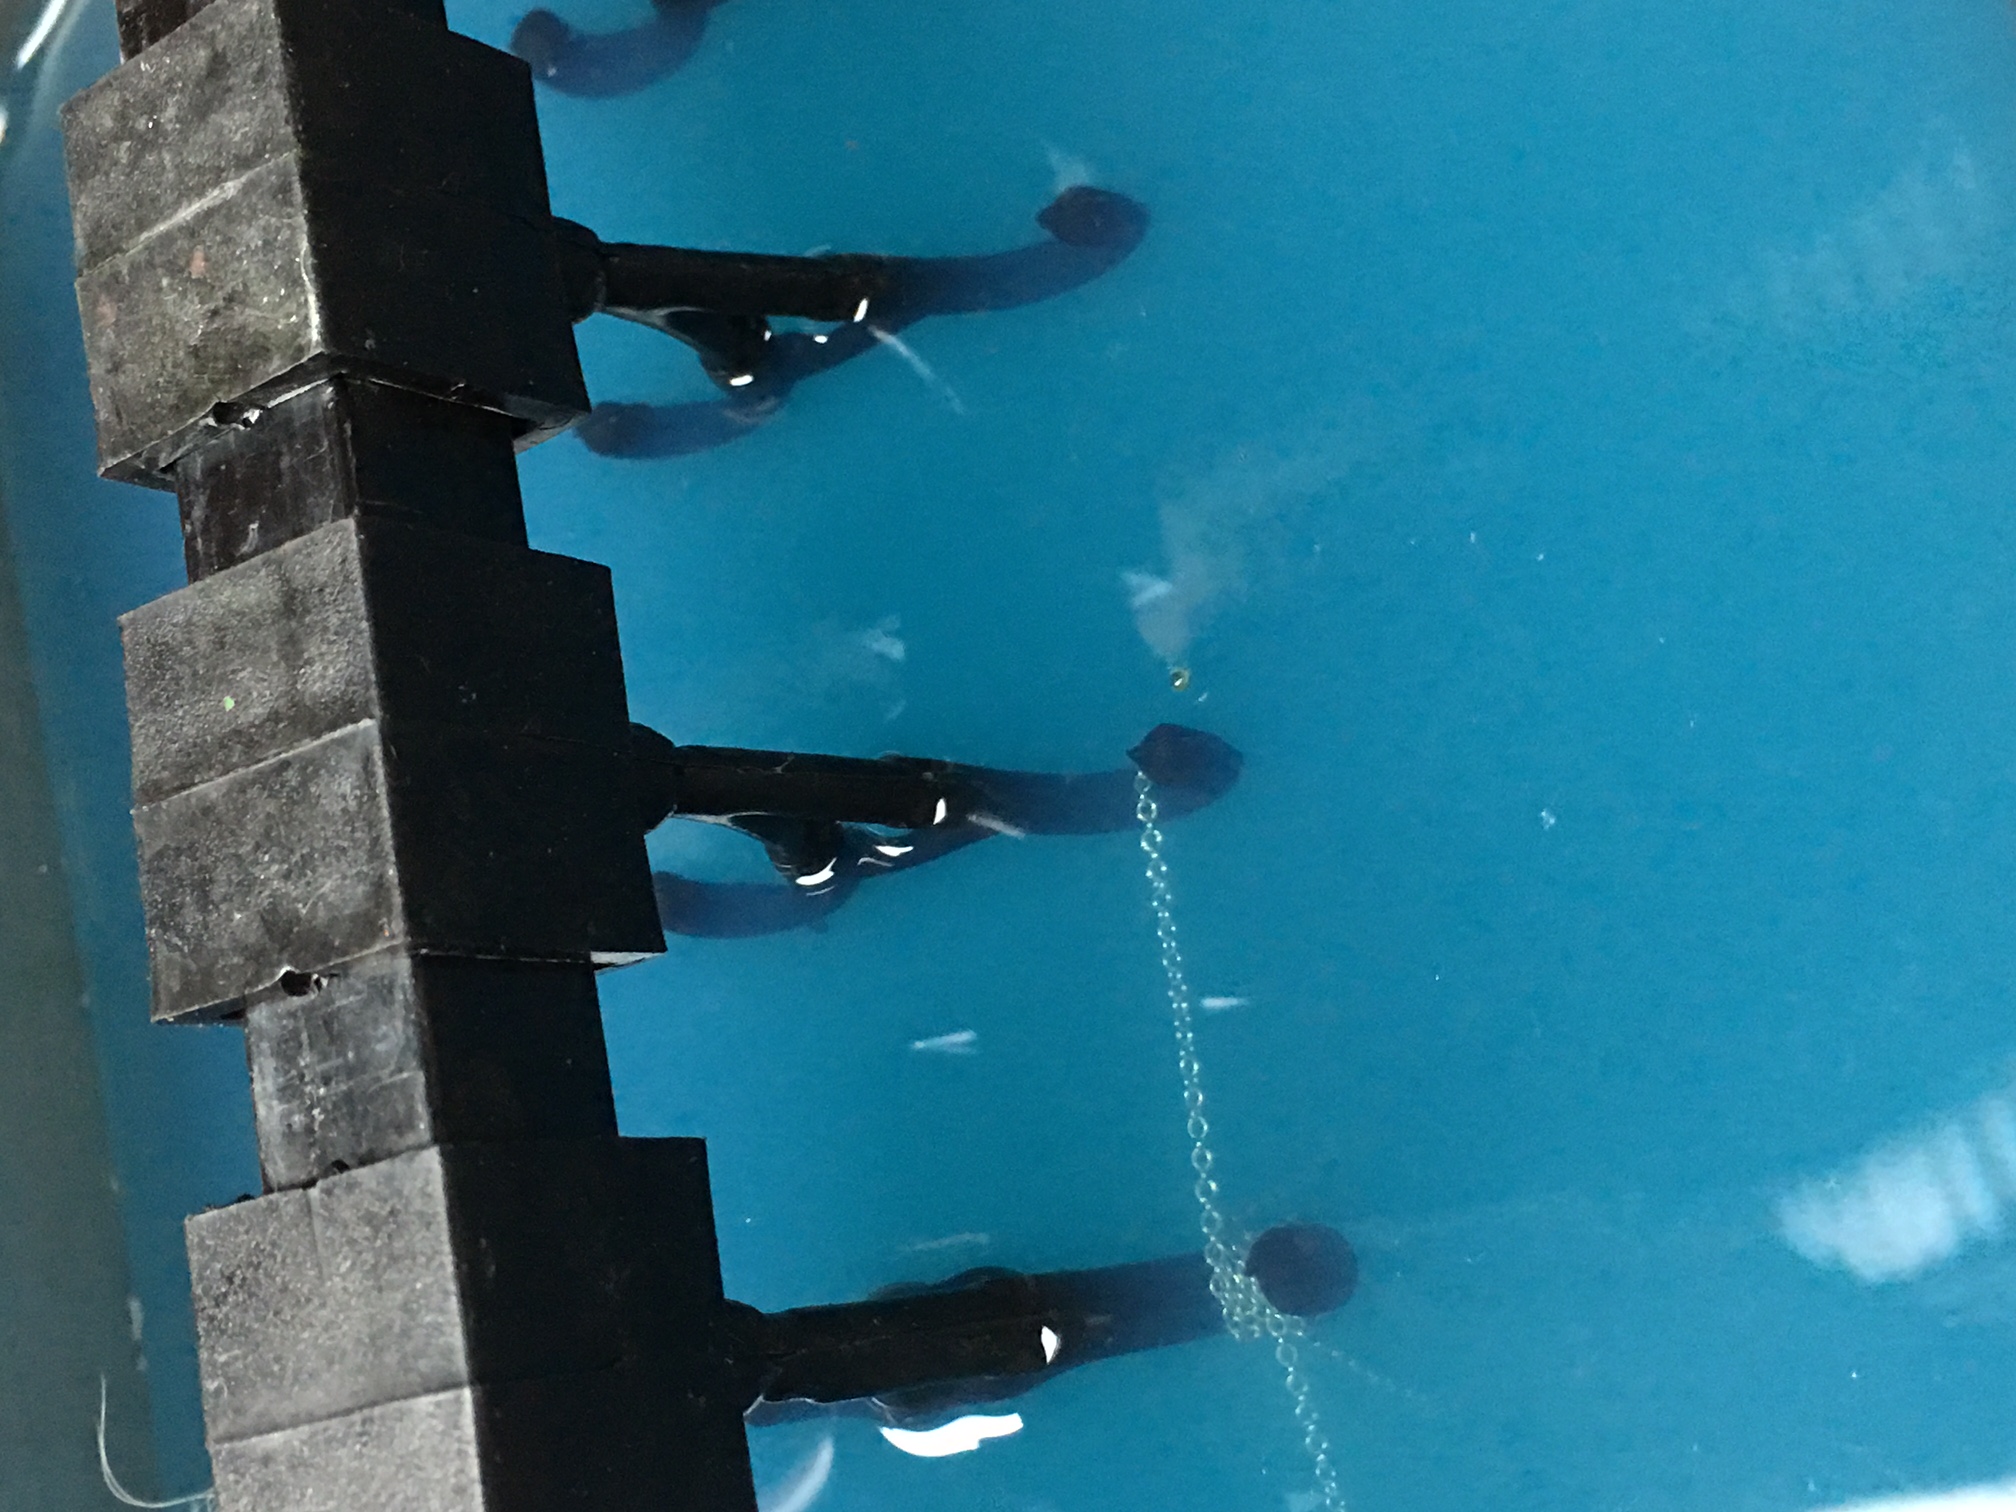
The basket is placed in a magnetic tumbler, which is a bath filled with tiny pieces of metal that polishes and smoothes the piece.
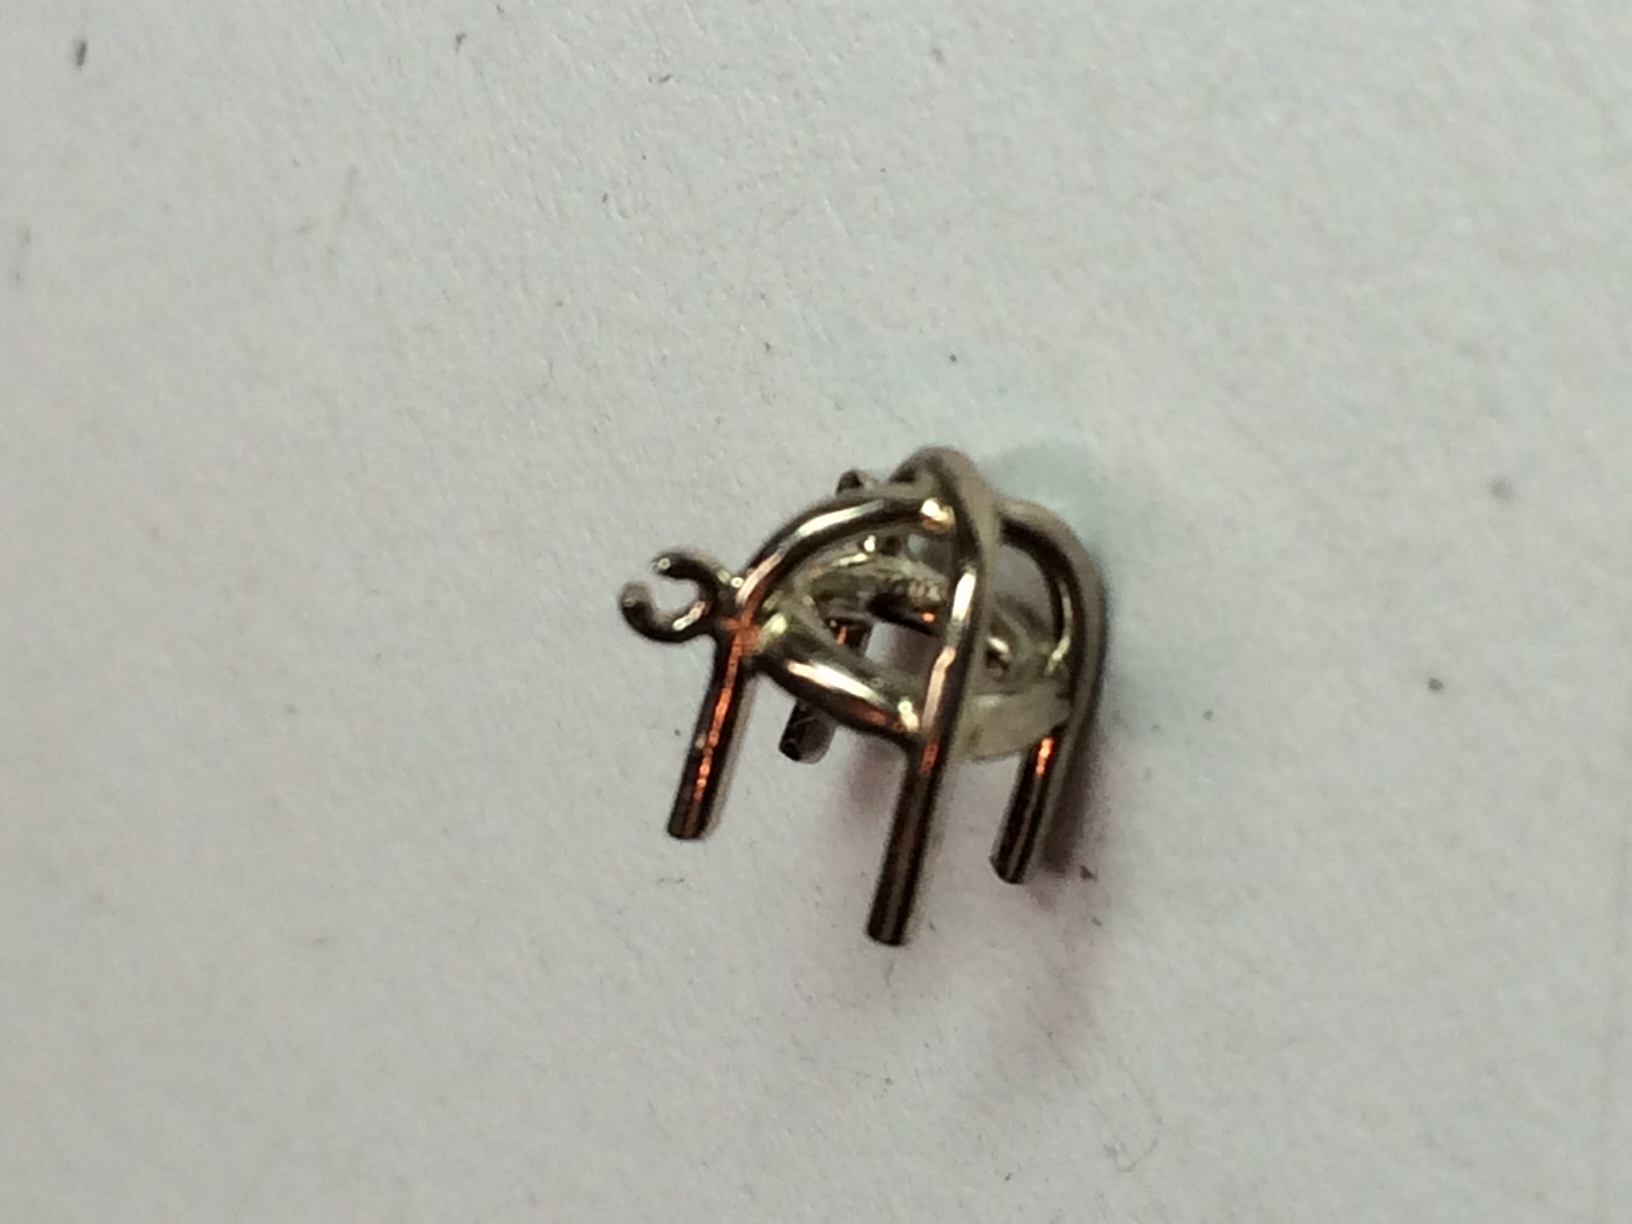
Now that the basket is polished, we can move on to the next step.
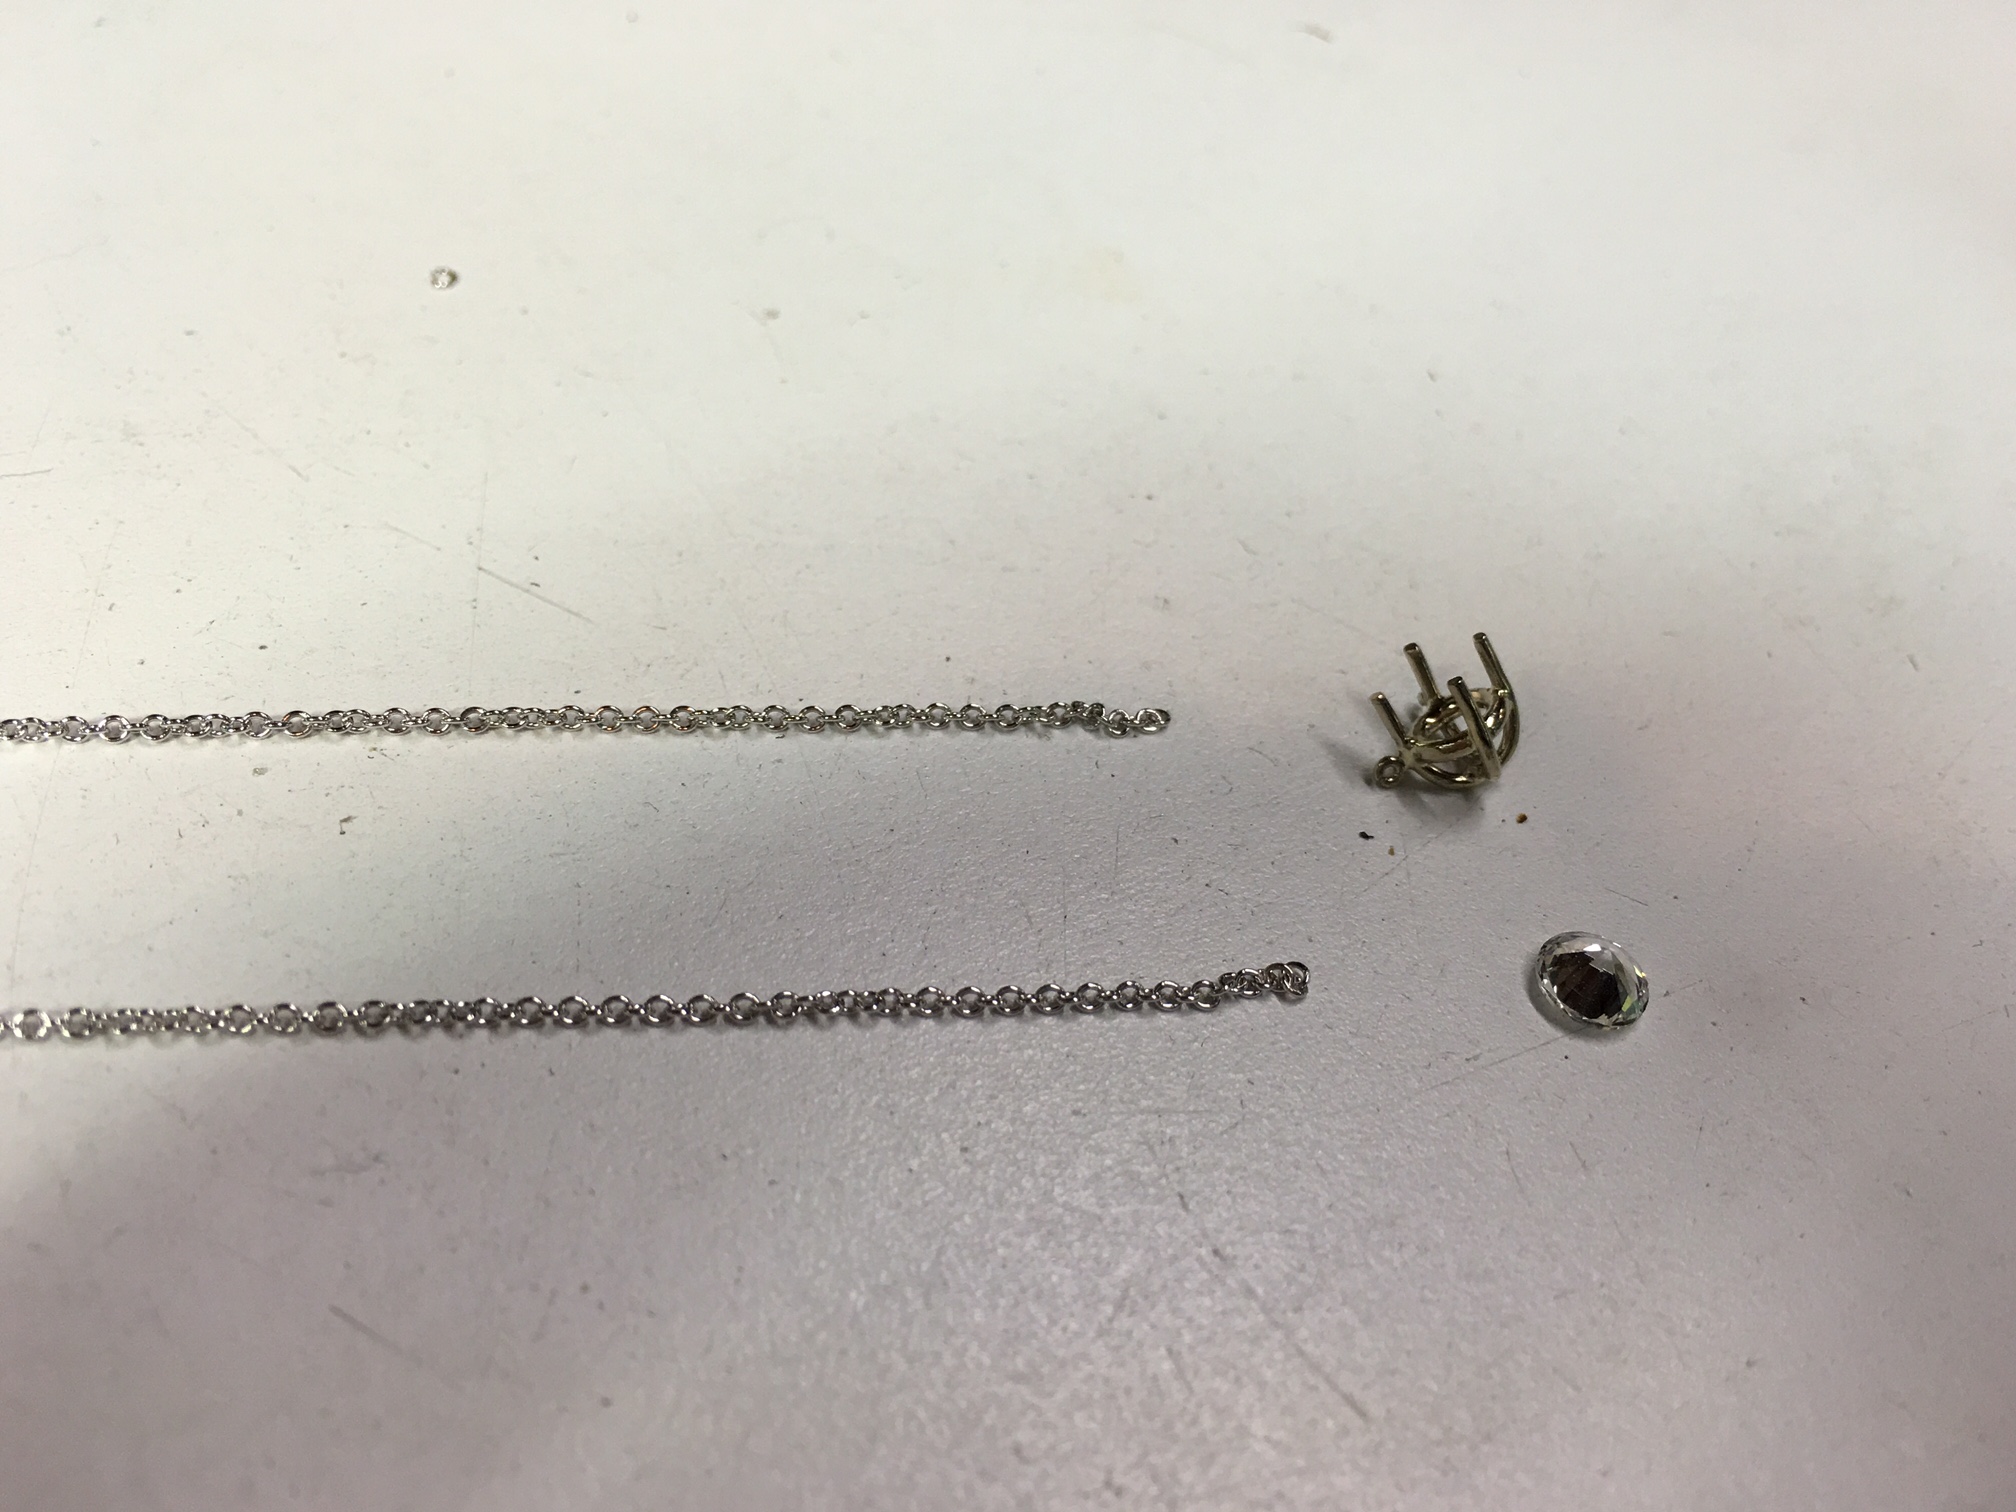
Now it’s time to attach the chain and set the stone.
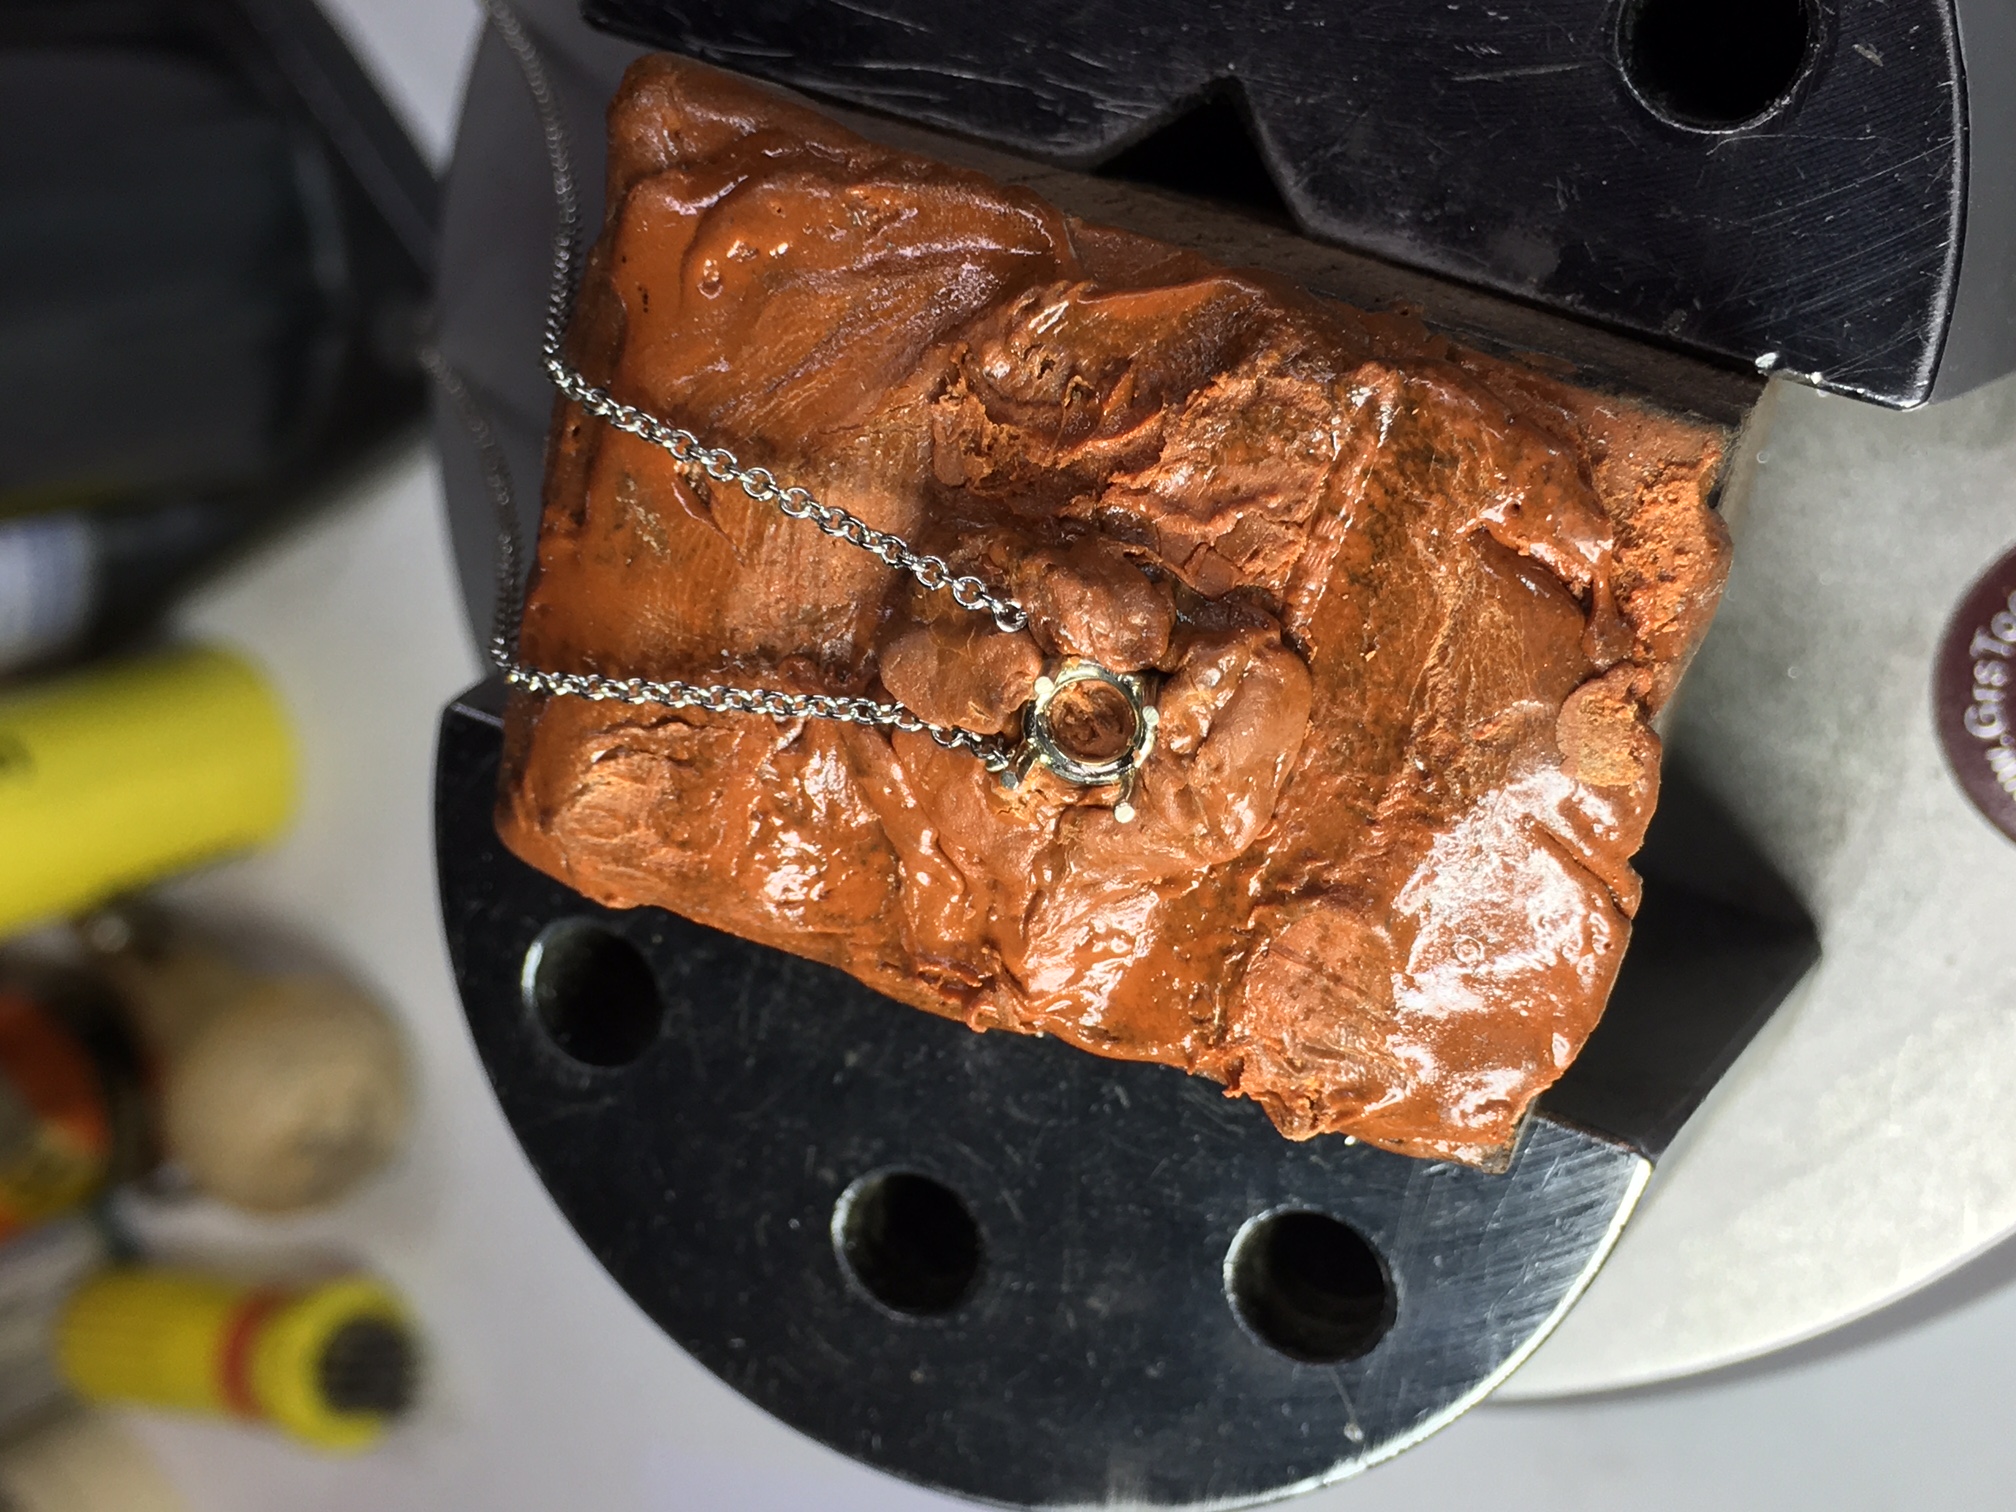
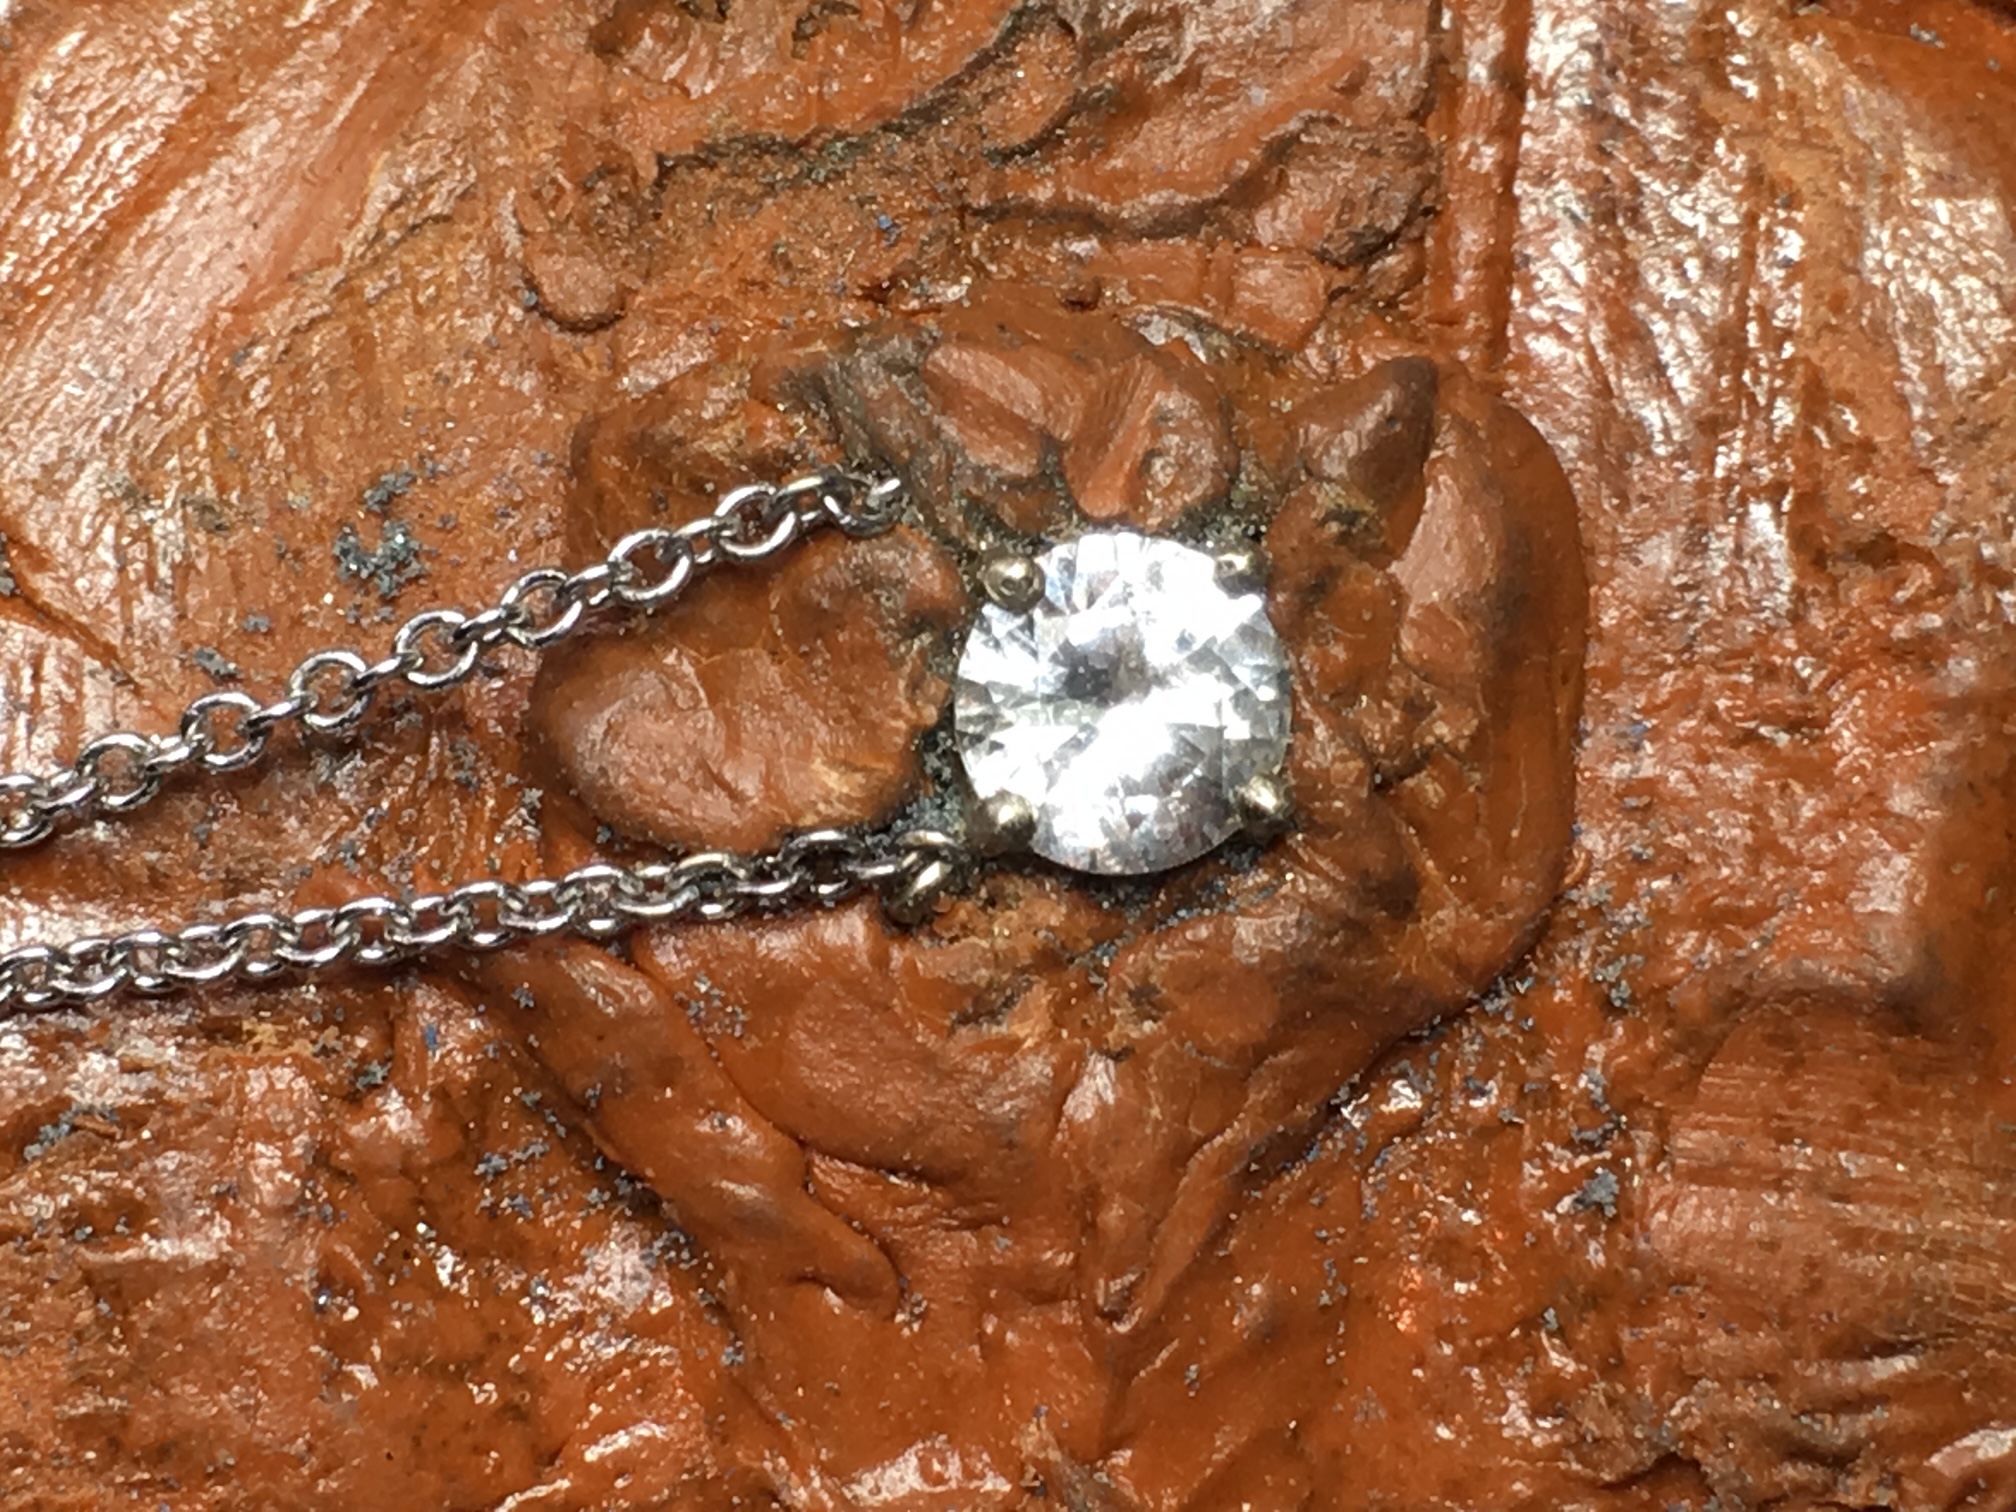
Once the chain is attached, we put the pendant on shellac to hold it in place.
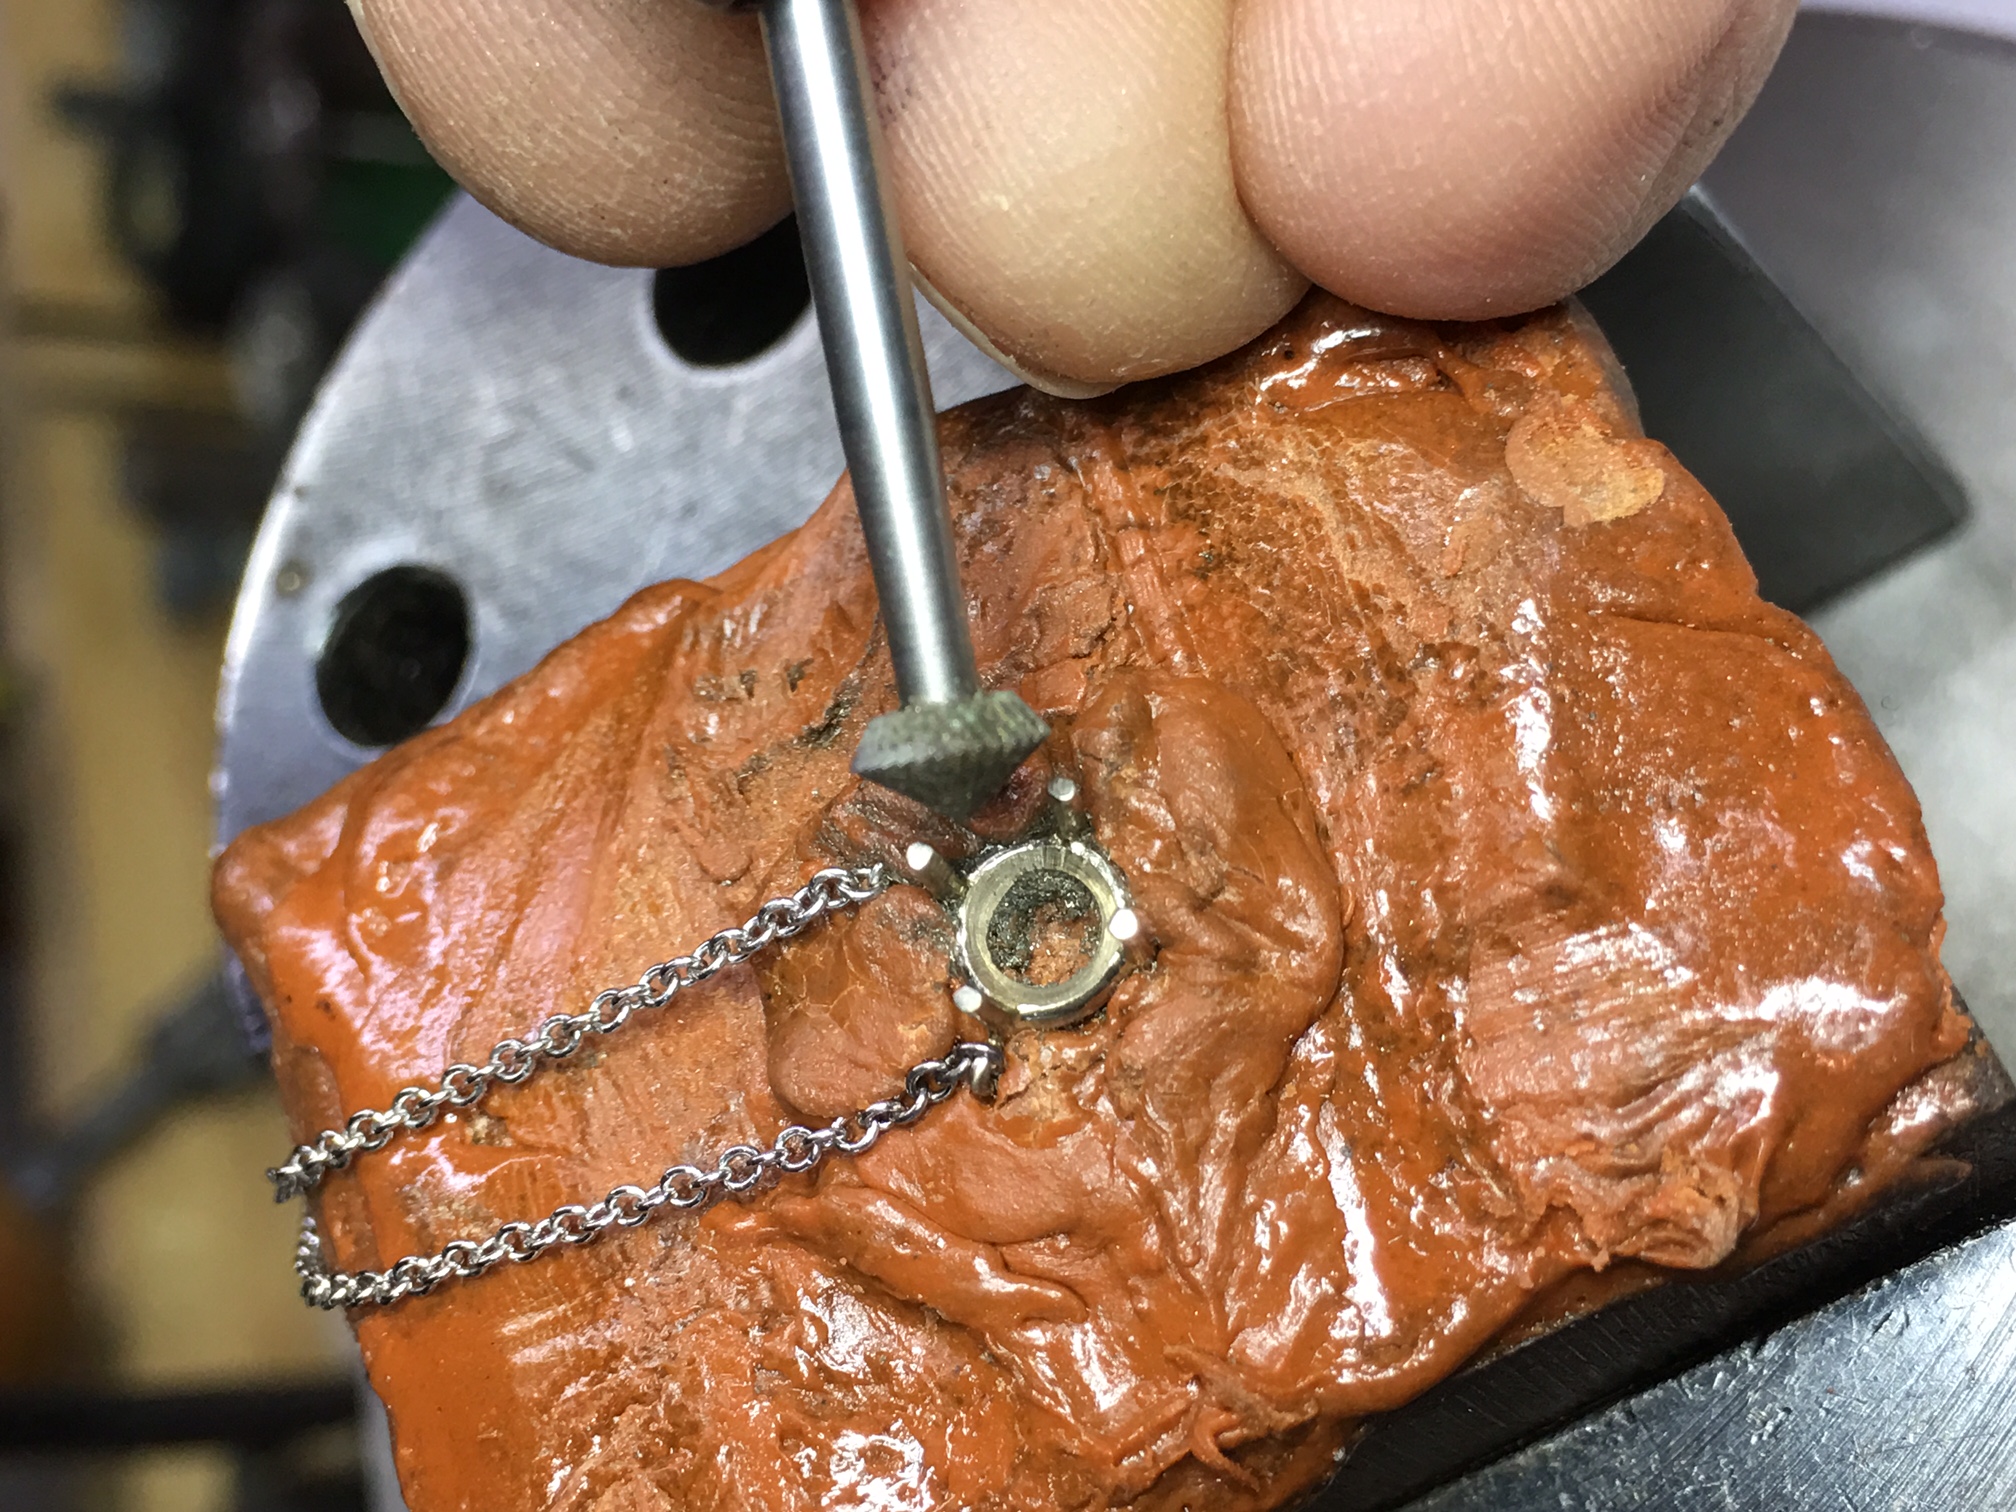
We use a bur to make a seat for the stone. This helps it sit properly and not fall out.
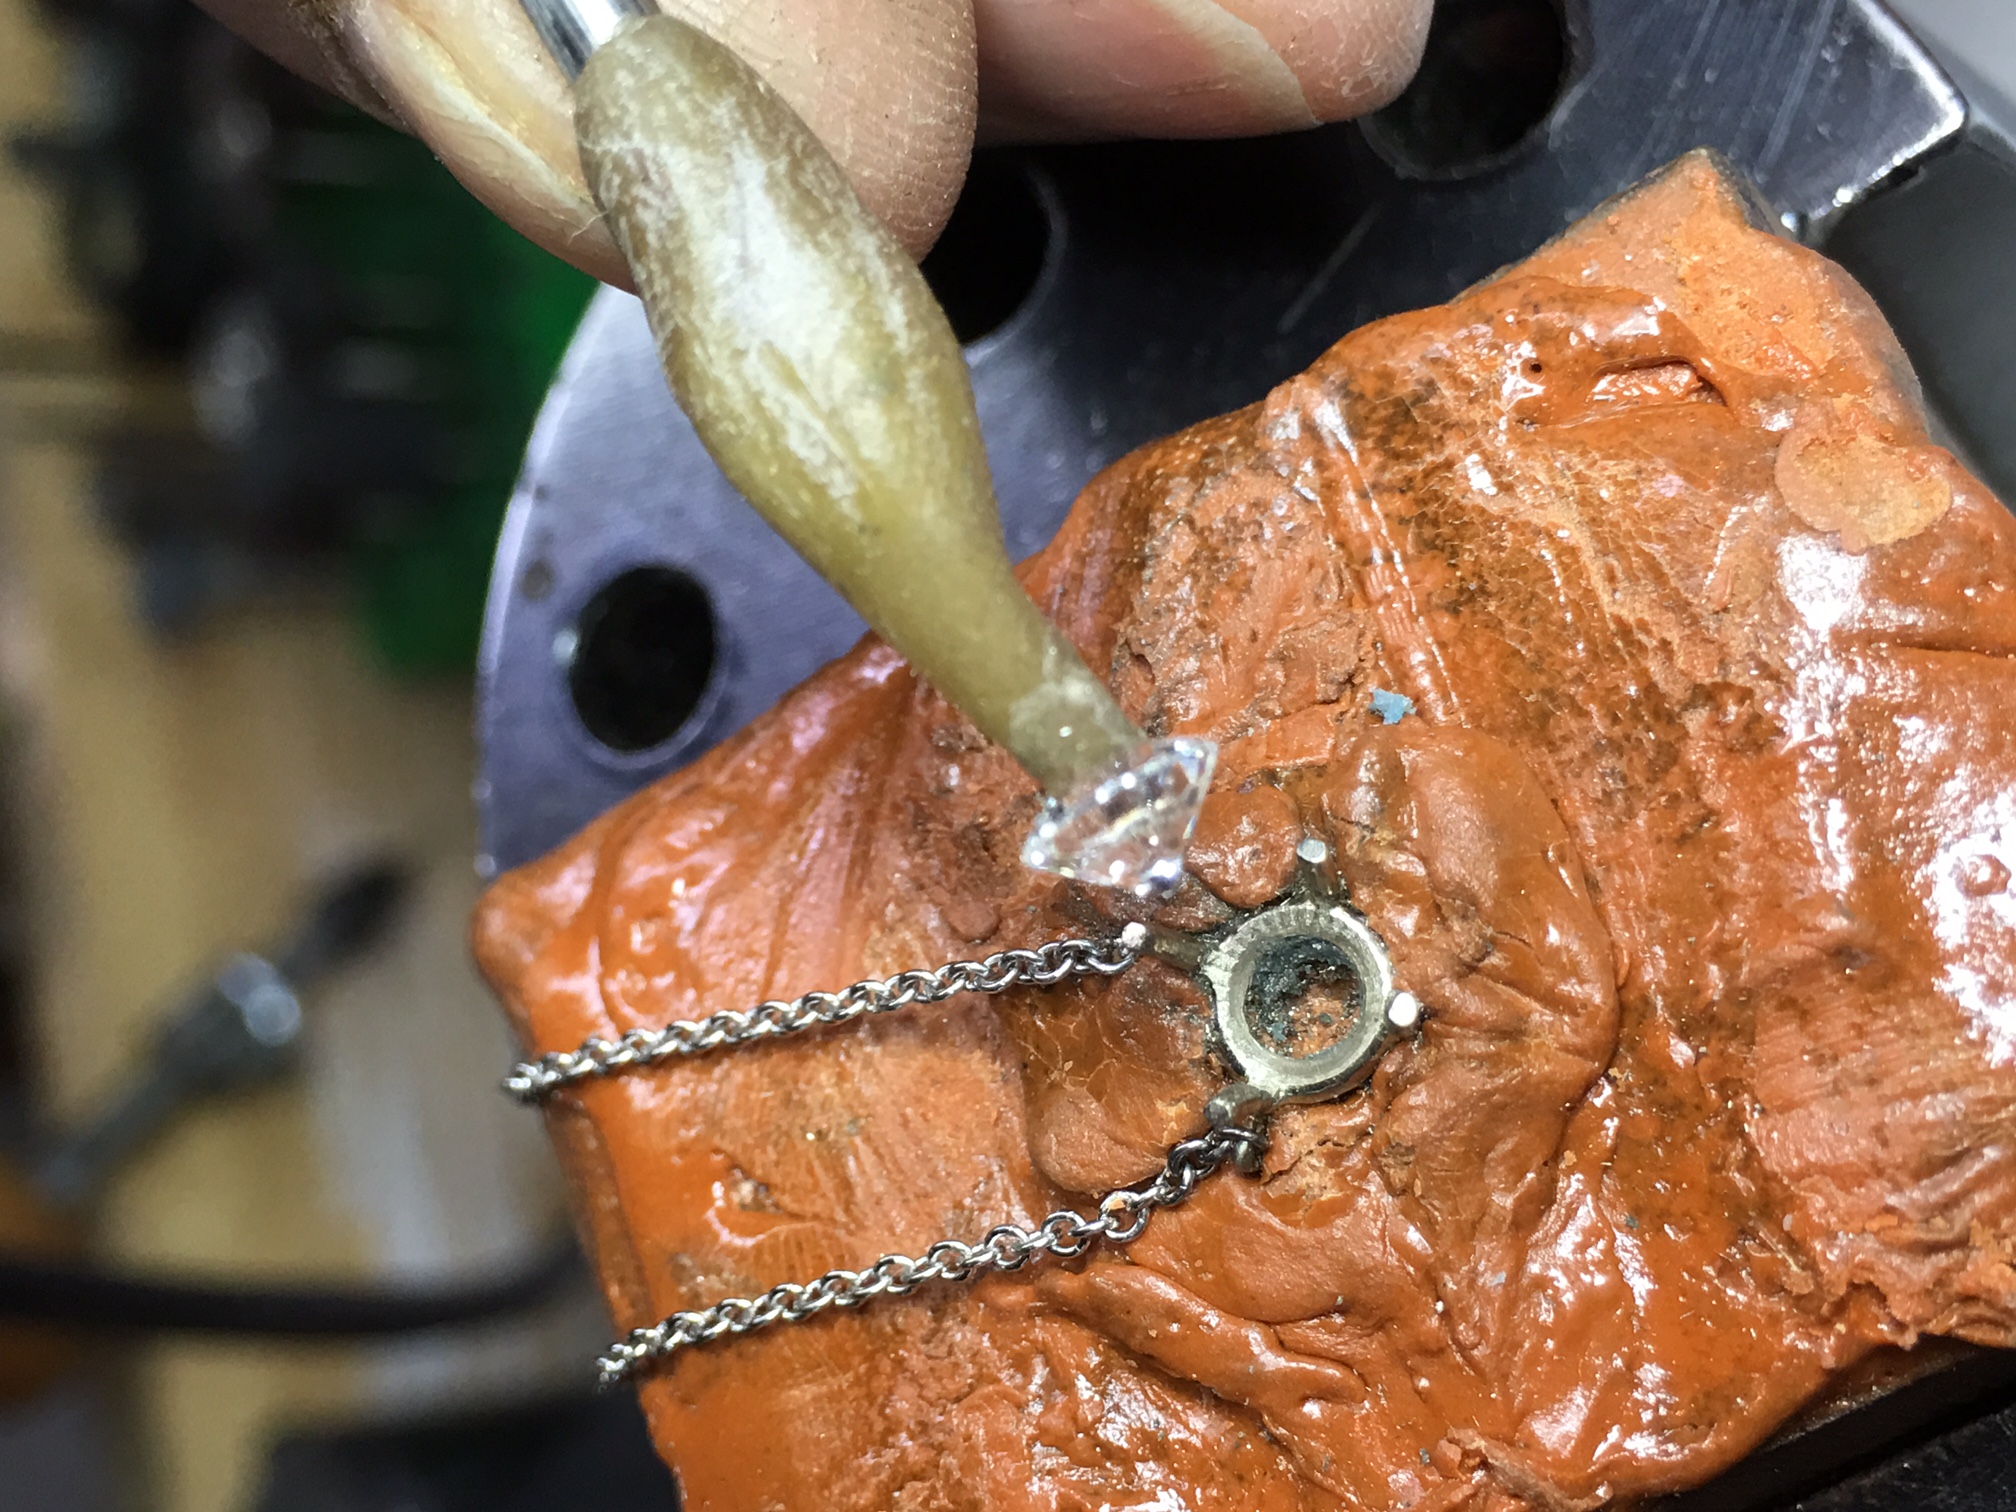
Once the seat is done, we place the stone in it.
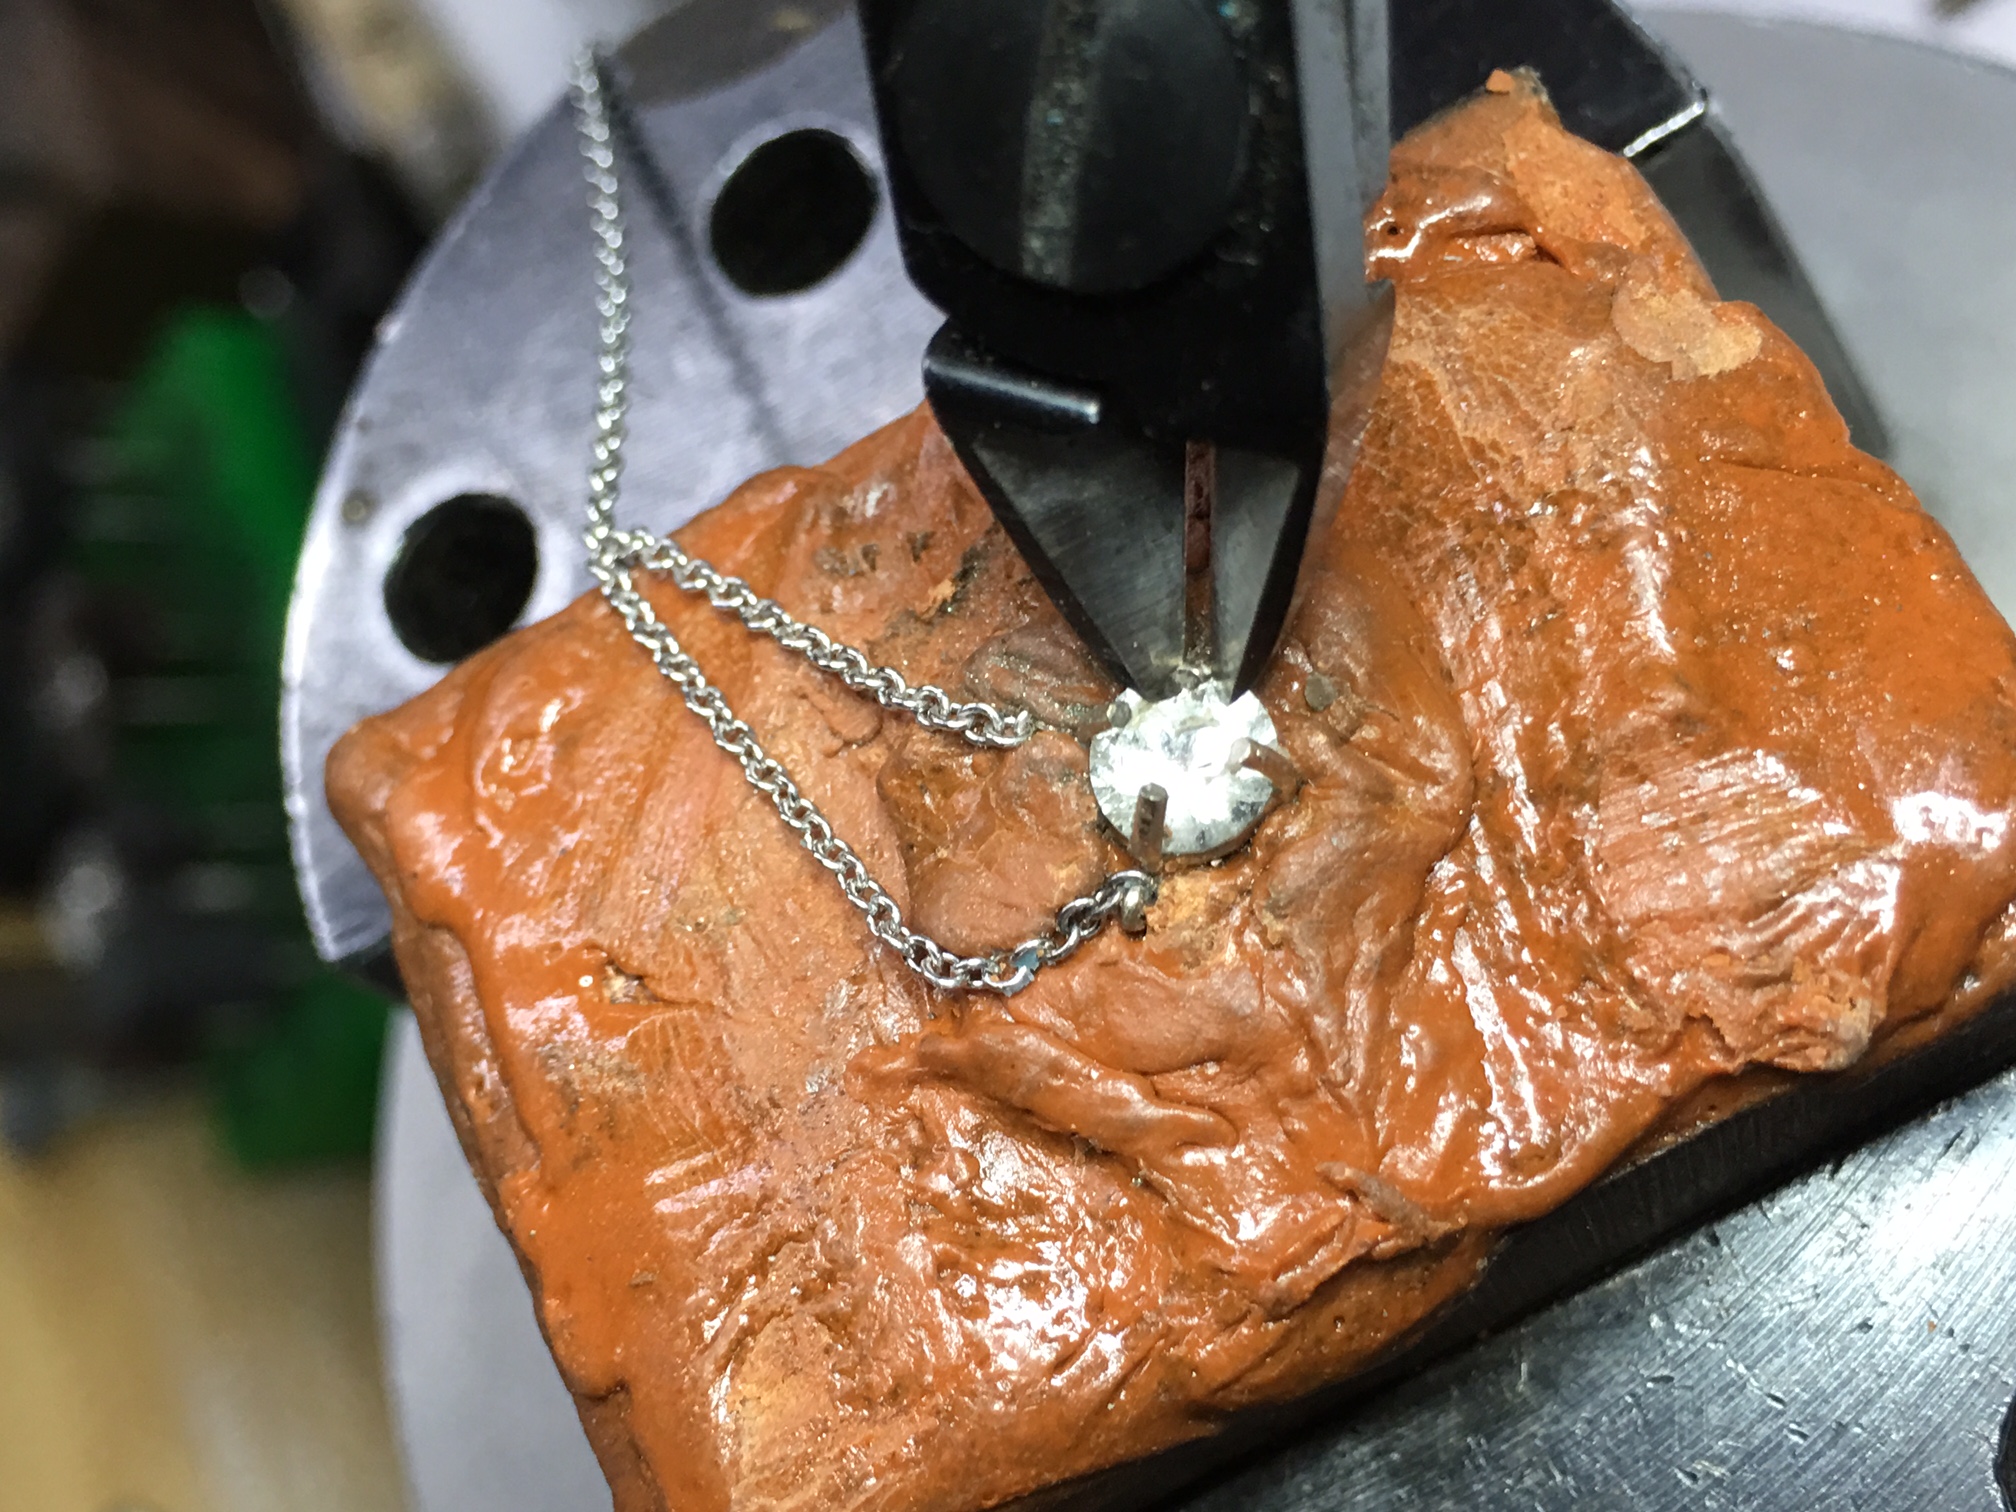
The prongs are then bent over to secure the stone in place.
The prongs a slightly filed to give them a nicer shape.
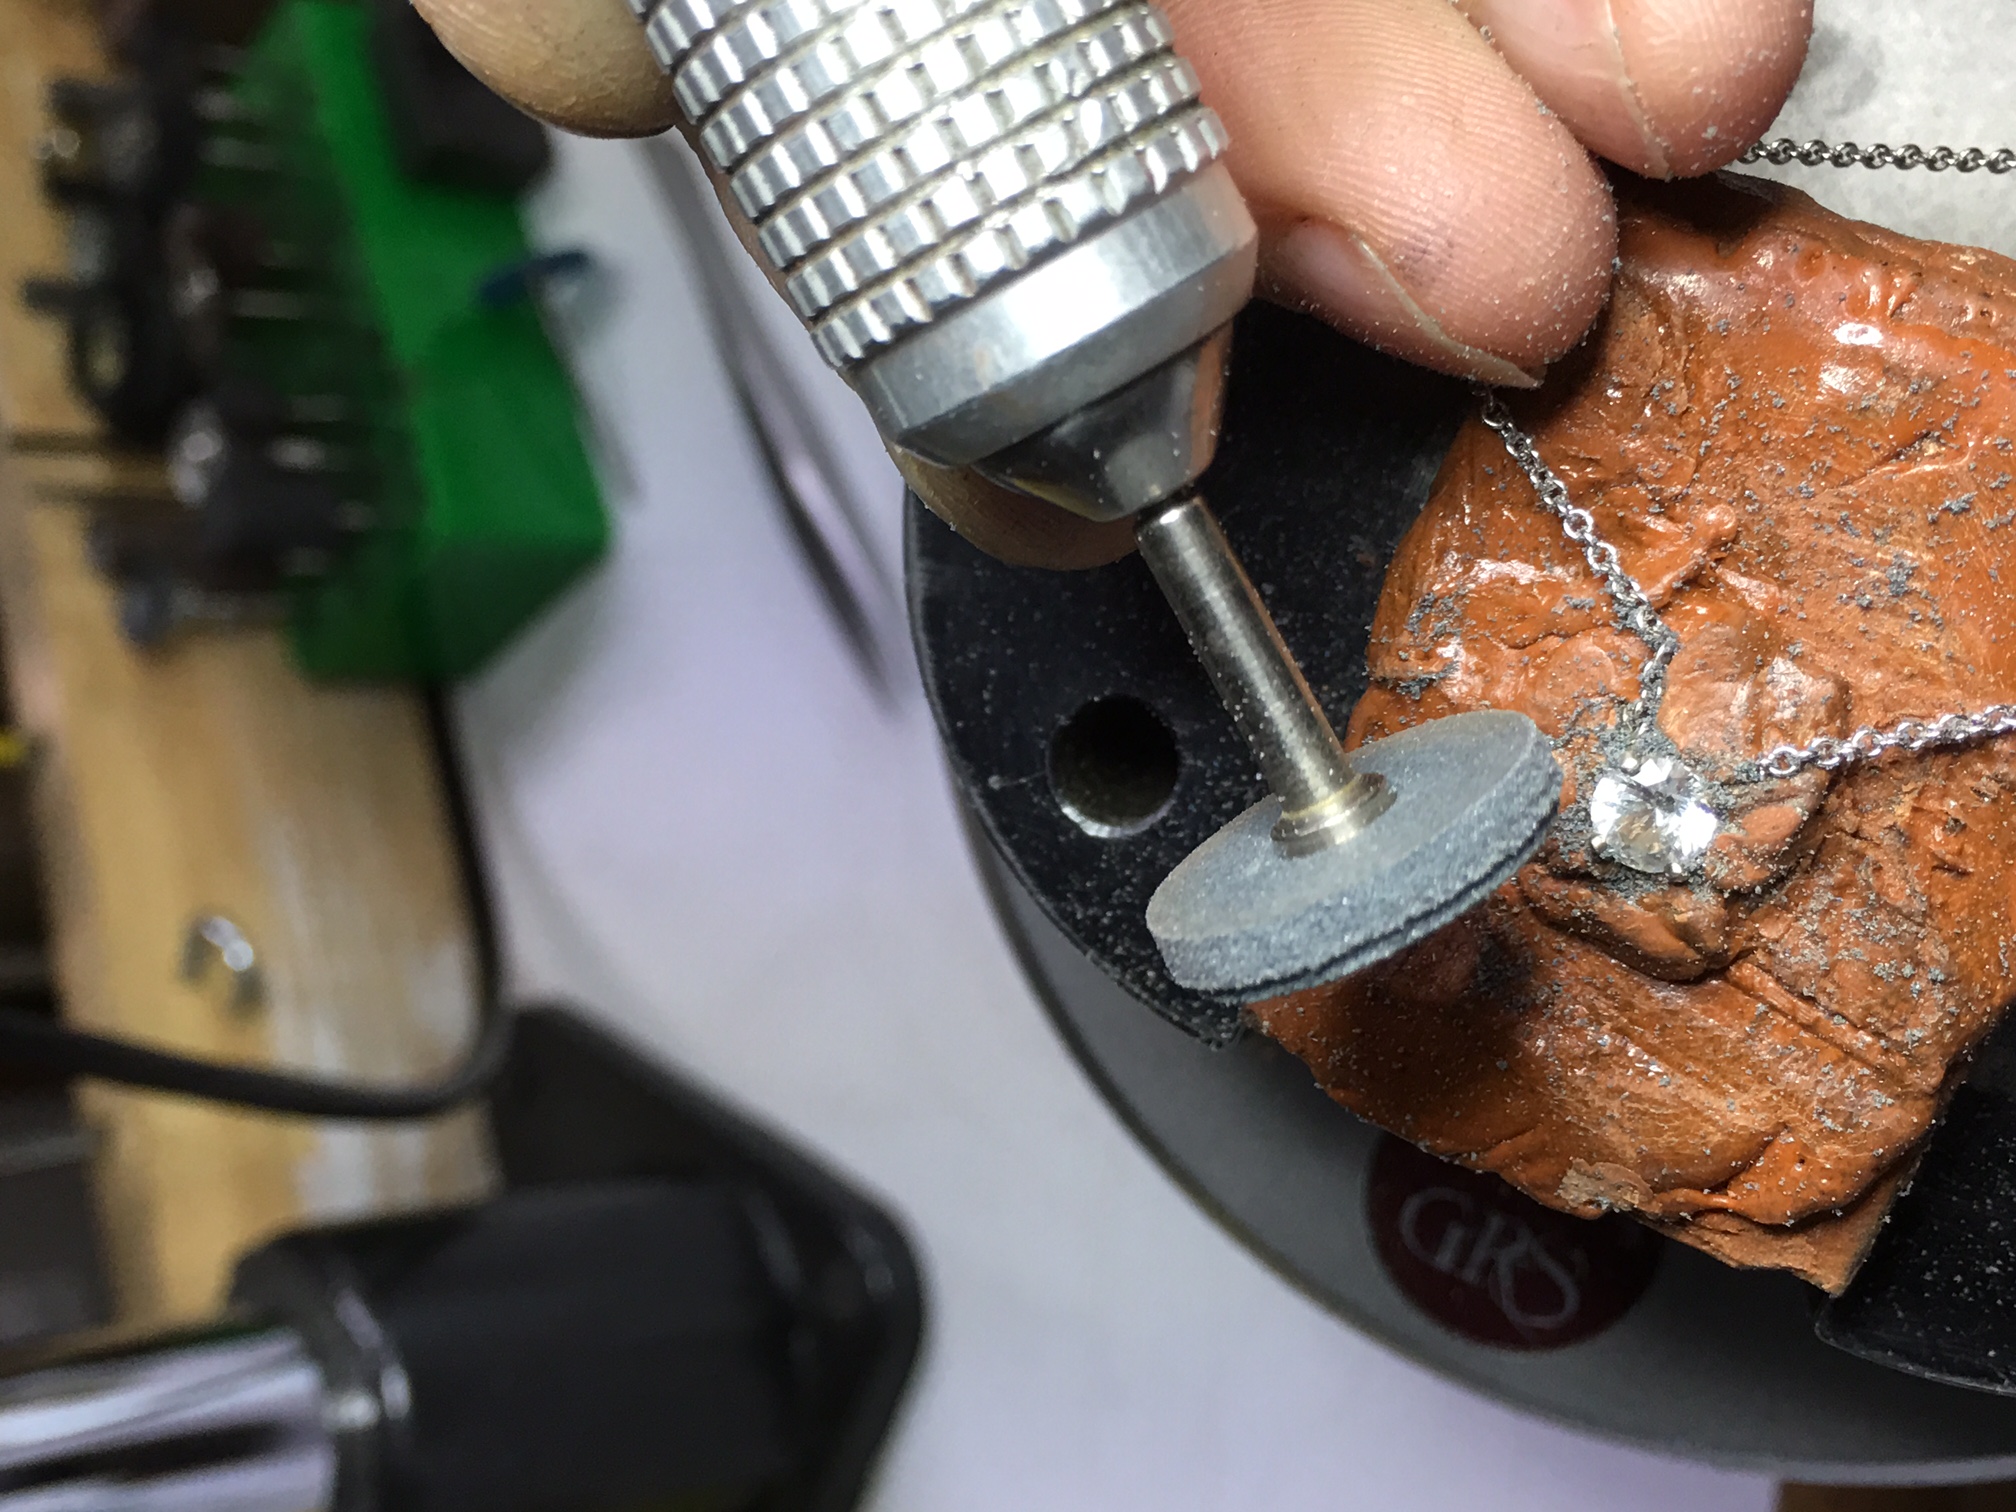
Now that the stone has been set, it’s time to clean it up.
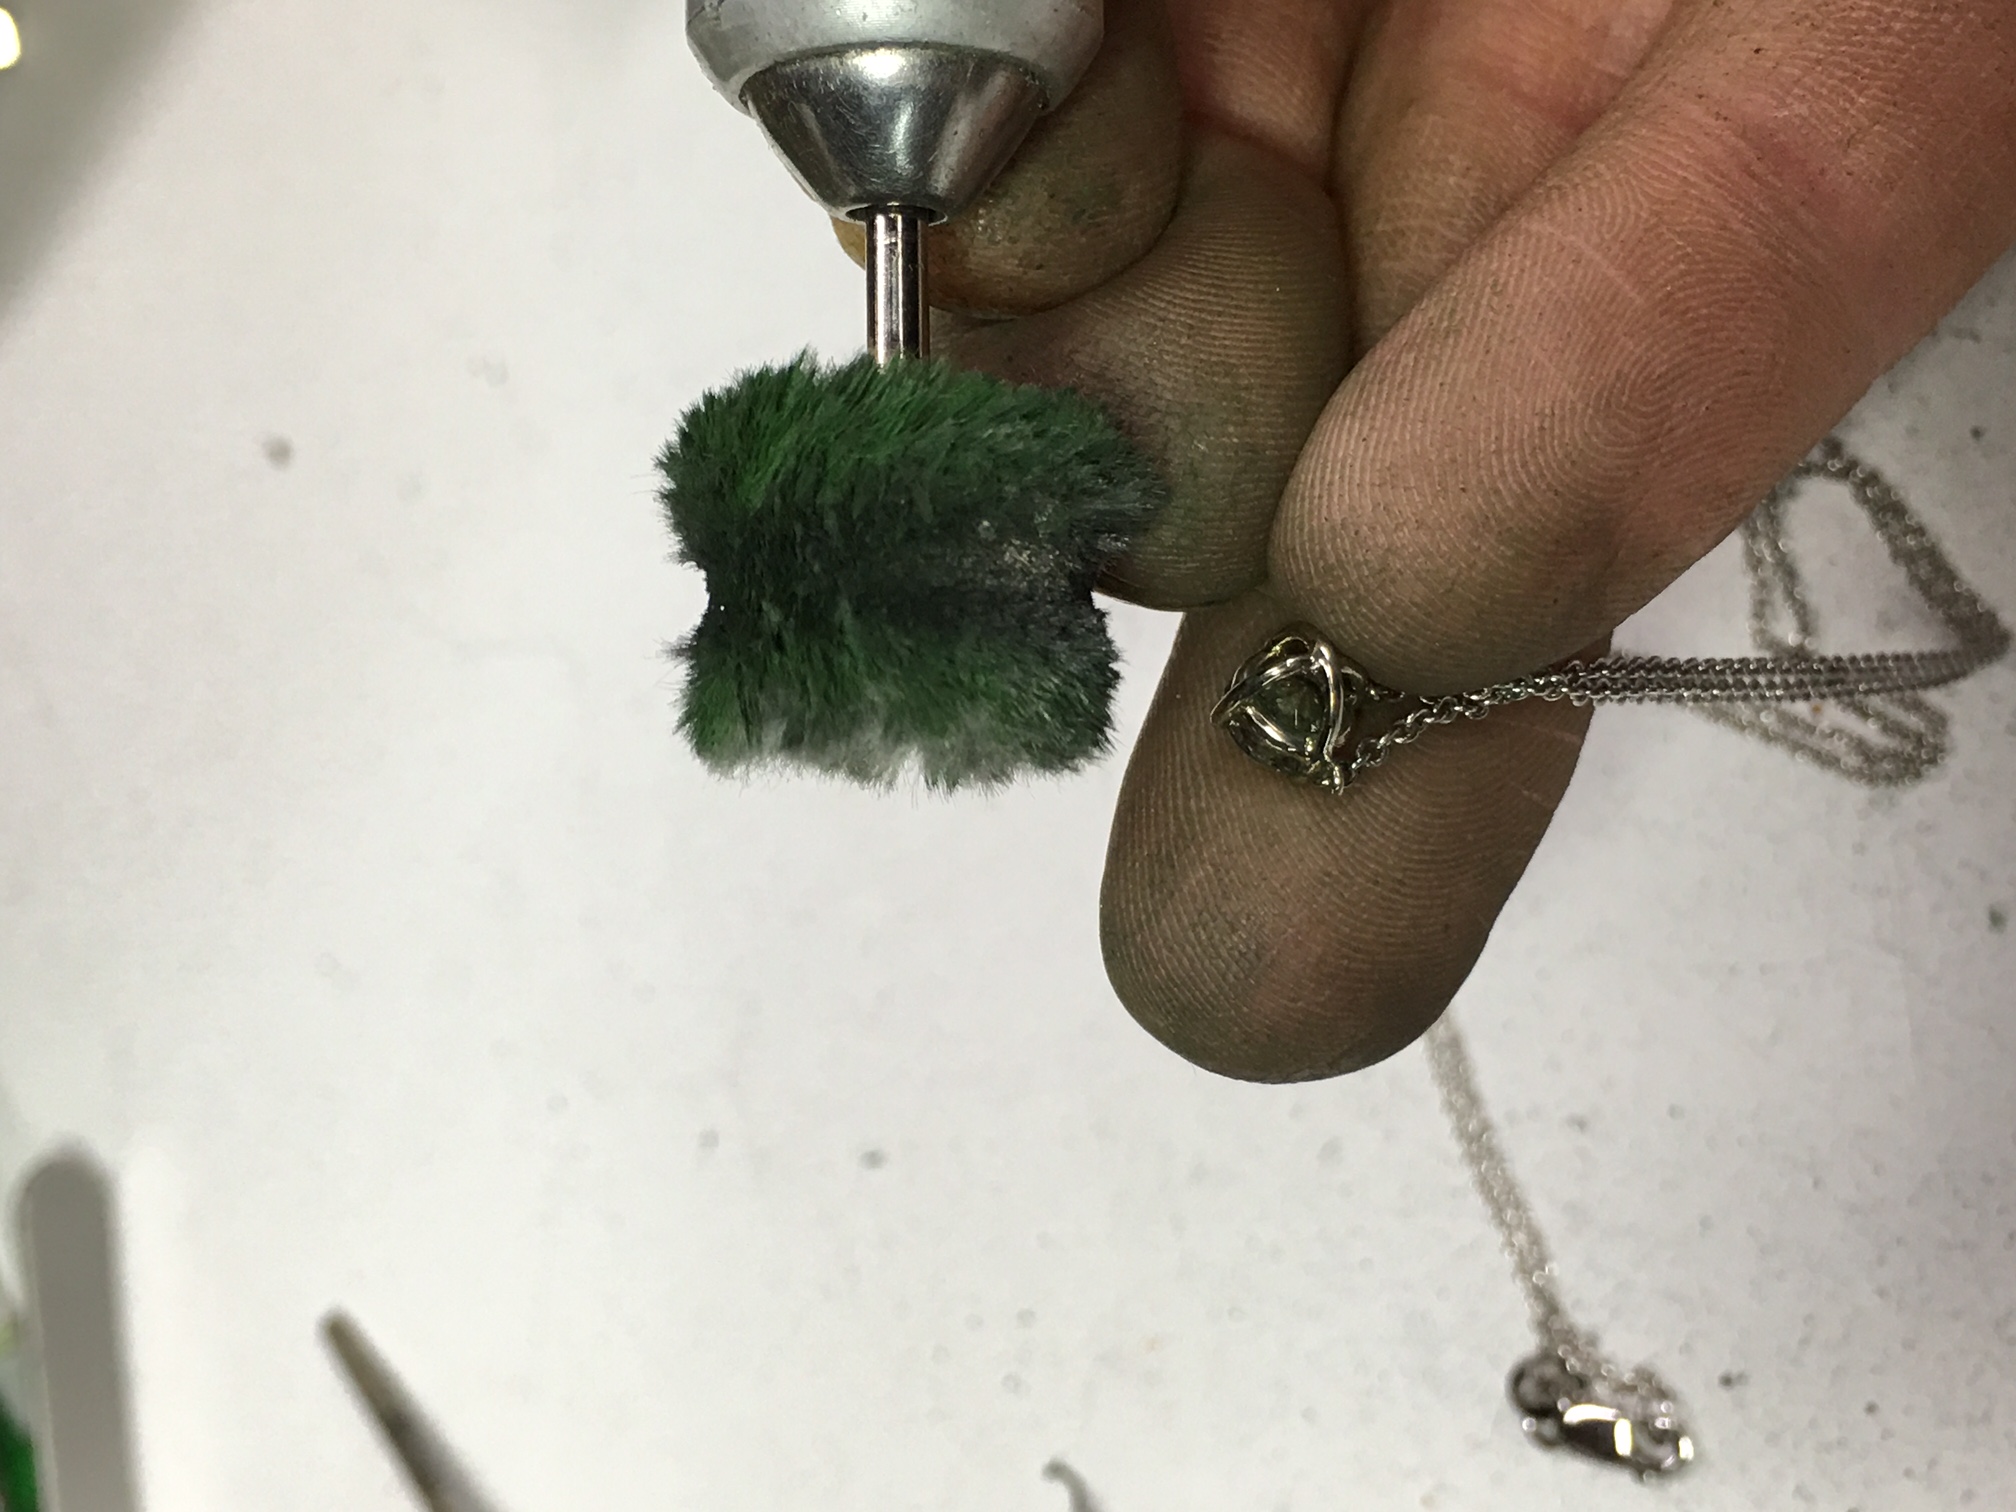
We give it a good polish using a soft brush.
The pendant is then placed in an ultrasonic jewelry bath.
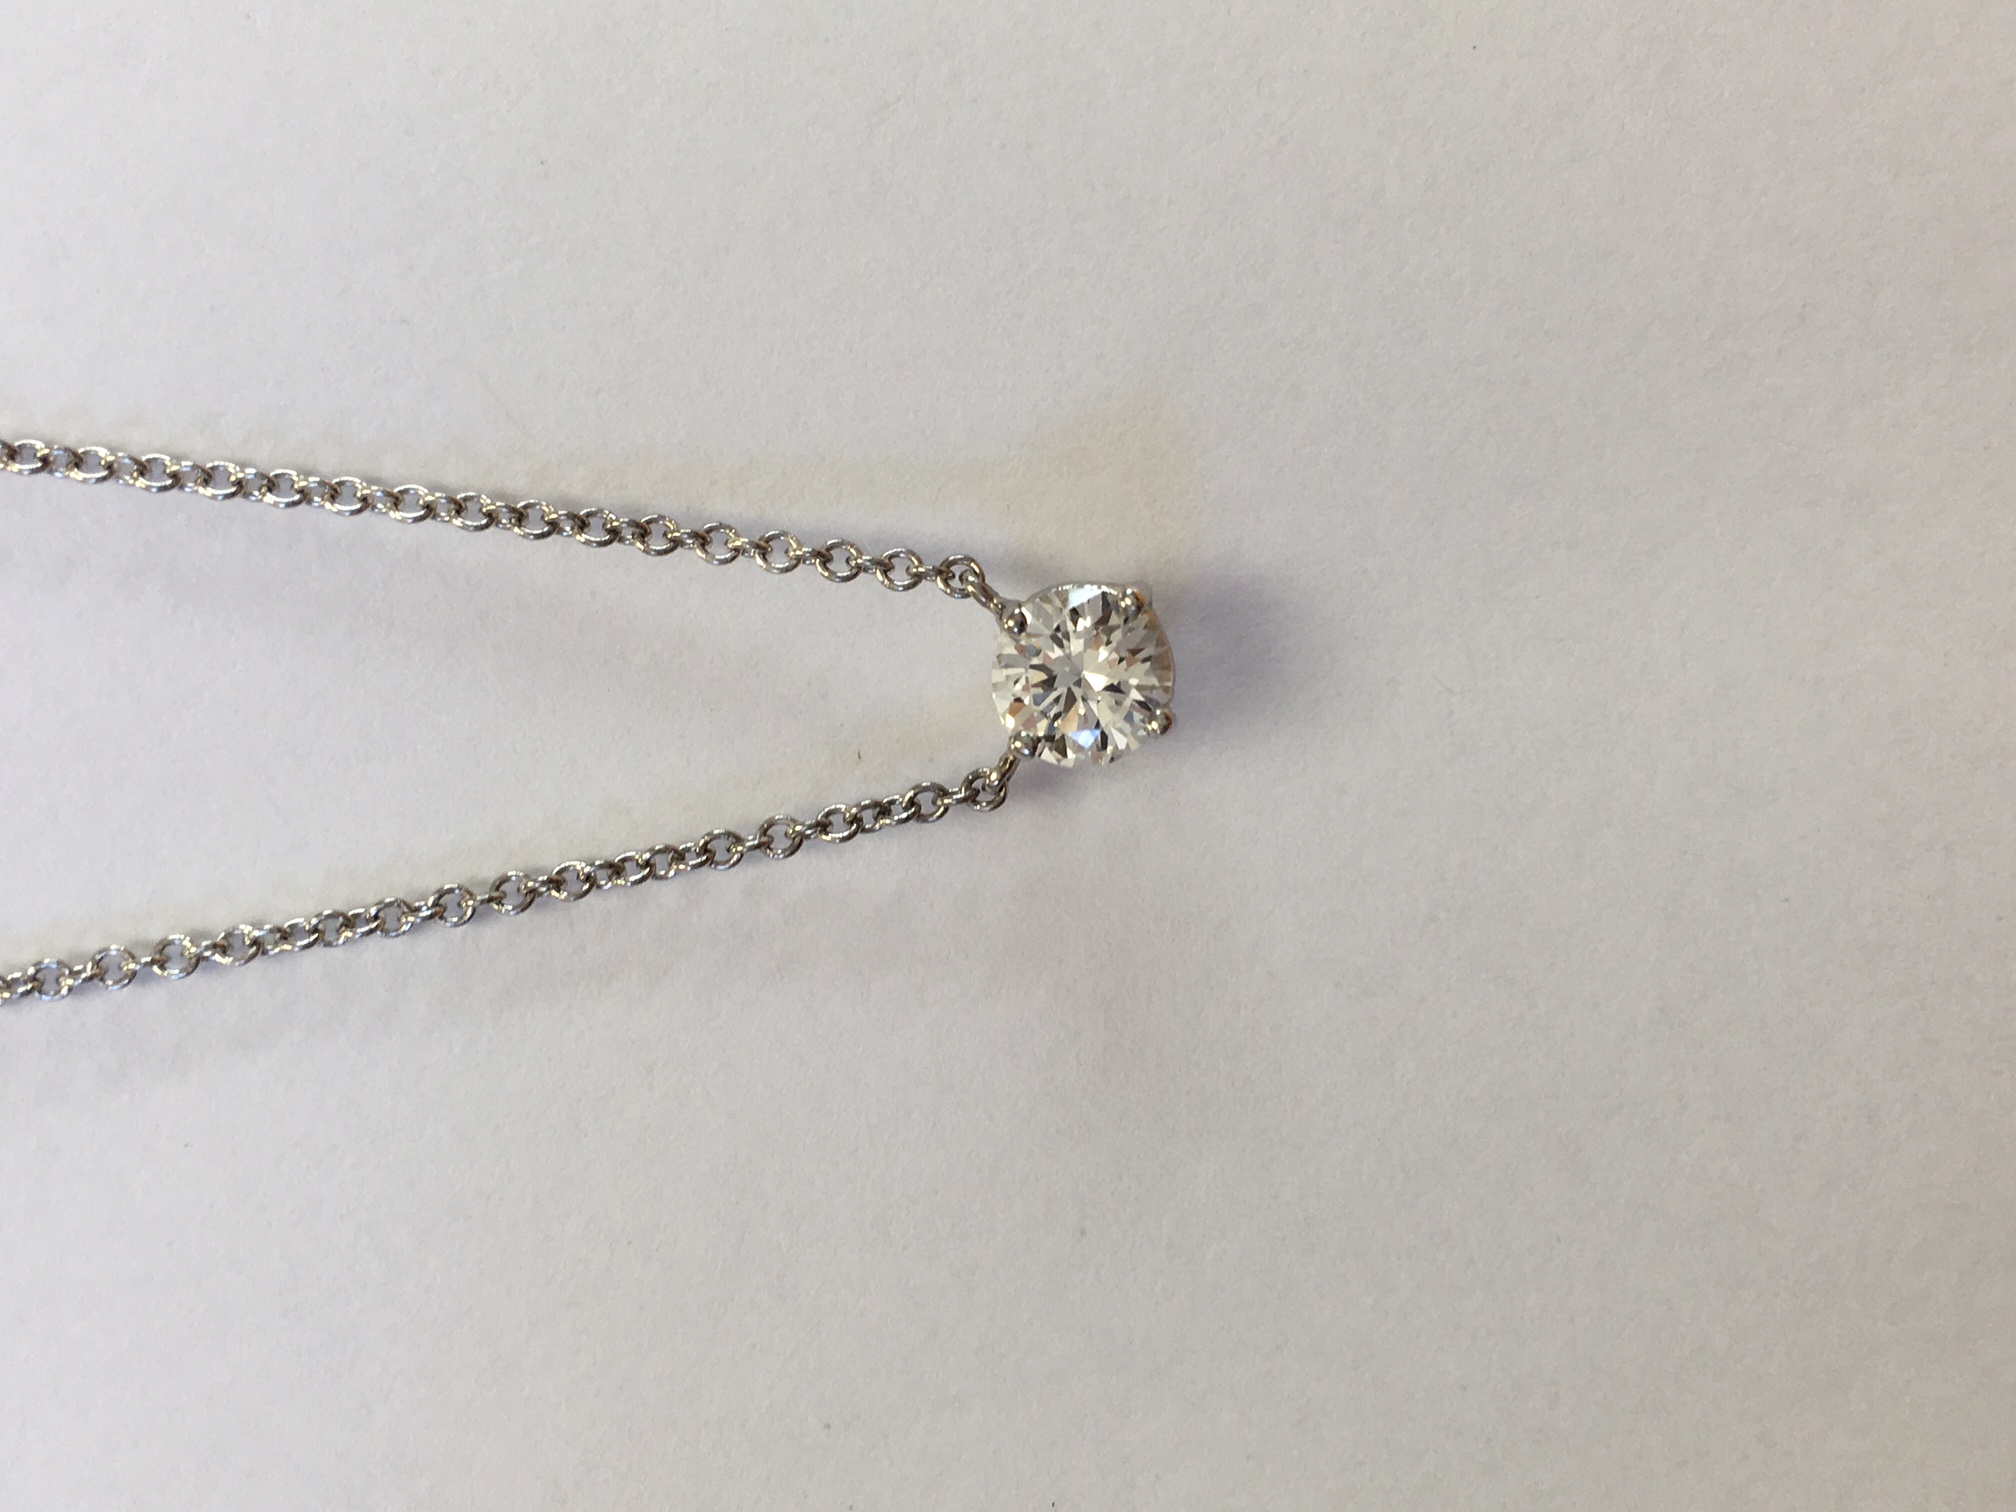
The pendant is done and ready to be worn!


